How I Painted the Scallop Wall
August 14, 2022
WHAT YOU WILL NEED
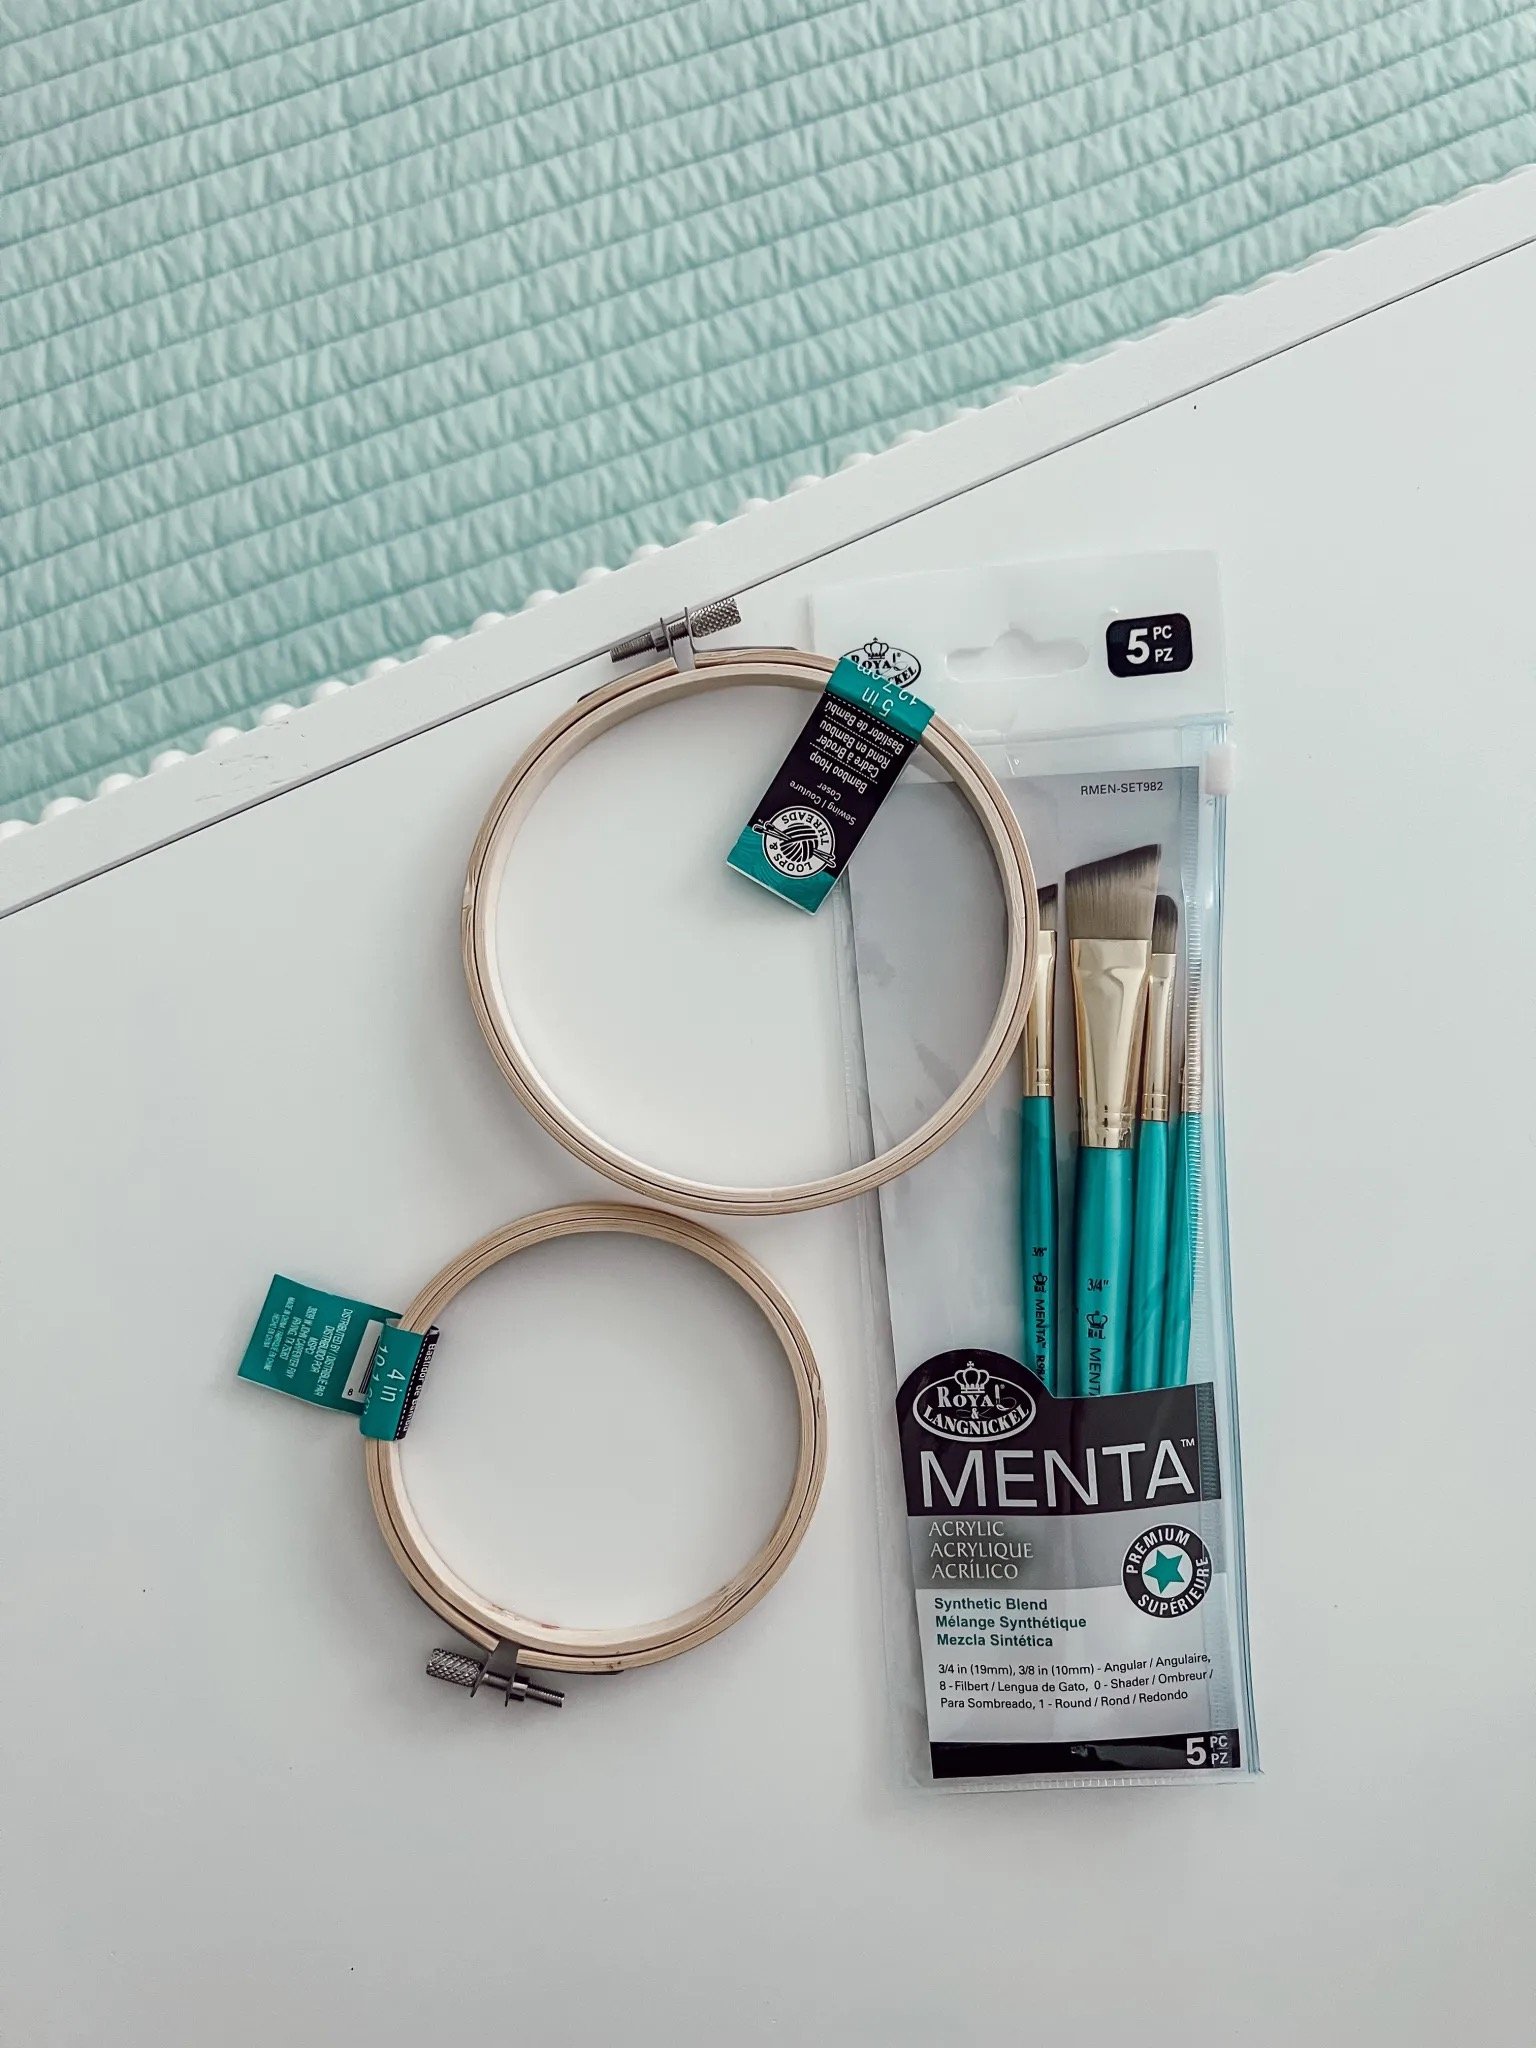
4” or 5” wooden embroidery hoop you only need one or the other, I bought both because I wasn’t sure what size I wanted my scallops, but I ended up using the 5” hoop.
Paint roller and paint pan
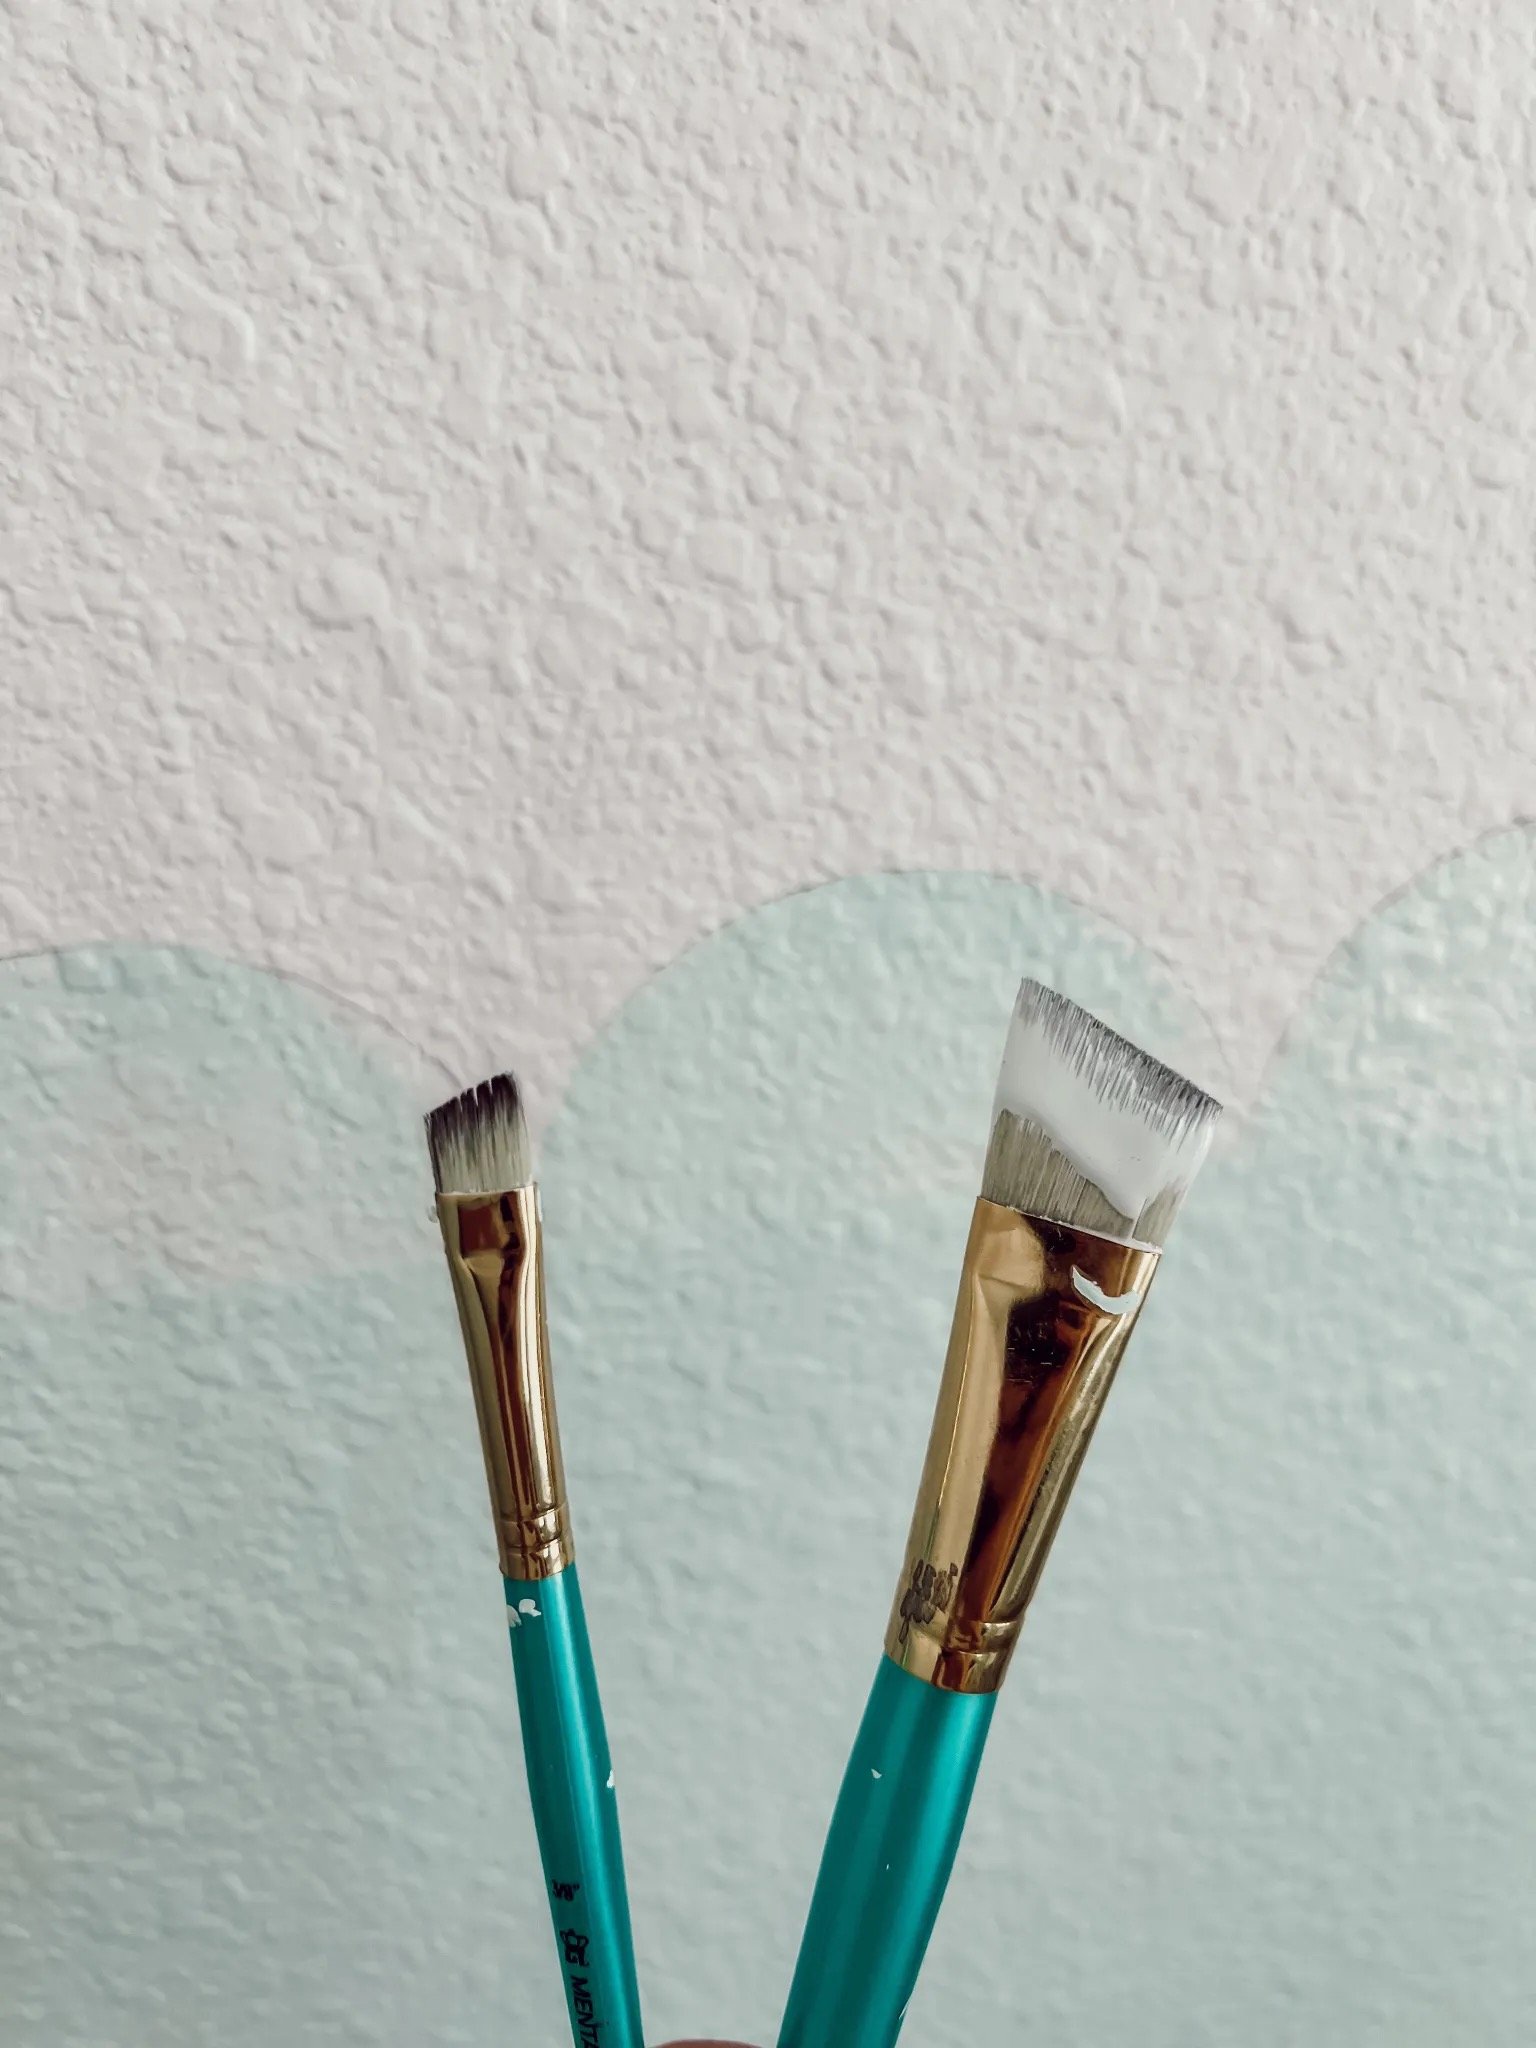
Short bristled angled paint brushes
Pencil
Painters tape
Level
Paint
STEP 1
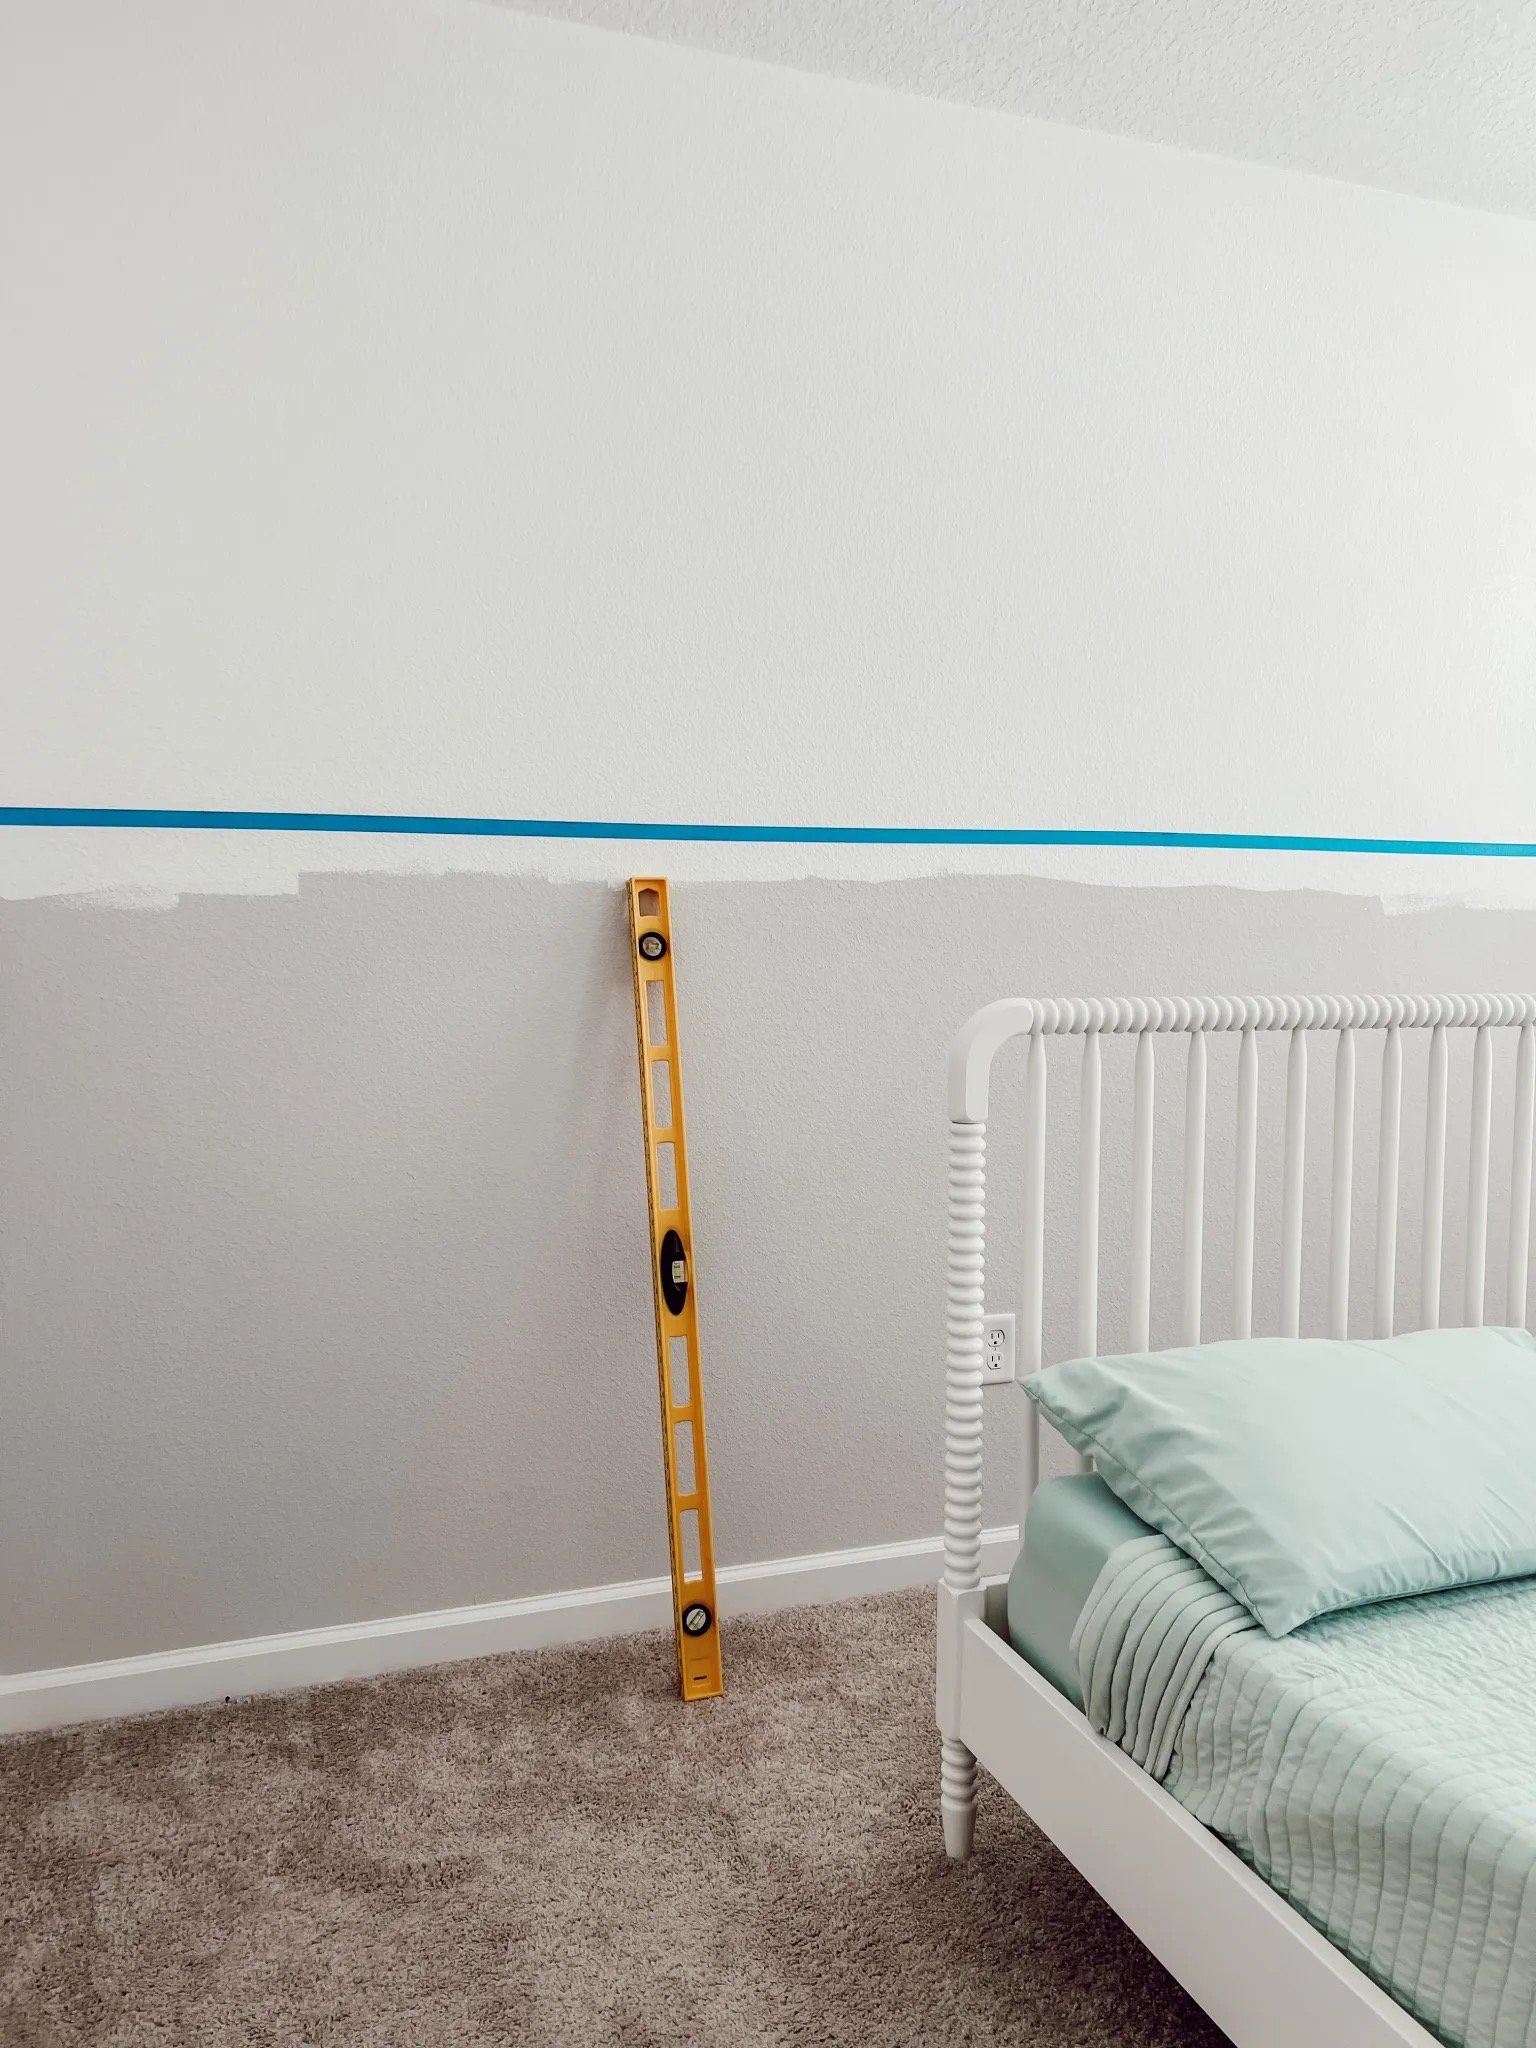
First I painted the upper half of my wall “Chantilly Lace” by Benjamin Moore from the top down to the height of the wall that I was going to paint my scallop half and then let that fully dry. If you aren’t painting the upper half skip that part and just figure out the height that you want to paint to and use a level to draw a straight line across your walls with your pencil. You can then use your painters tape and tape off your straight line that you will be painting the lower half up to.
TAP ANYWHERE ON THE IMAGES TO SHOP THIS POST
STEP 2
Use your paint roller and paint the walls from the lower half up to the taped line, (it took me two coats of paint) in your desired color. I used ”Waterscape” by Glidden from Home Depot, this is Sydnies current “favorite color” and she asked me to design her new room using it. This color matched her bedding perfectly.
STEP 3
After your last coat of paint, remove the painters tape before it is completely dry to prevent against peeling.
STEP 4
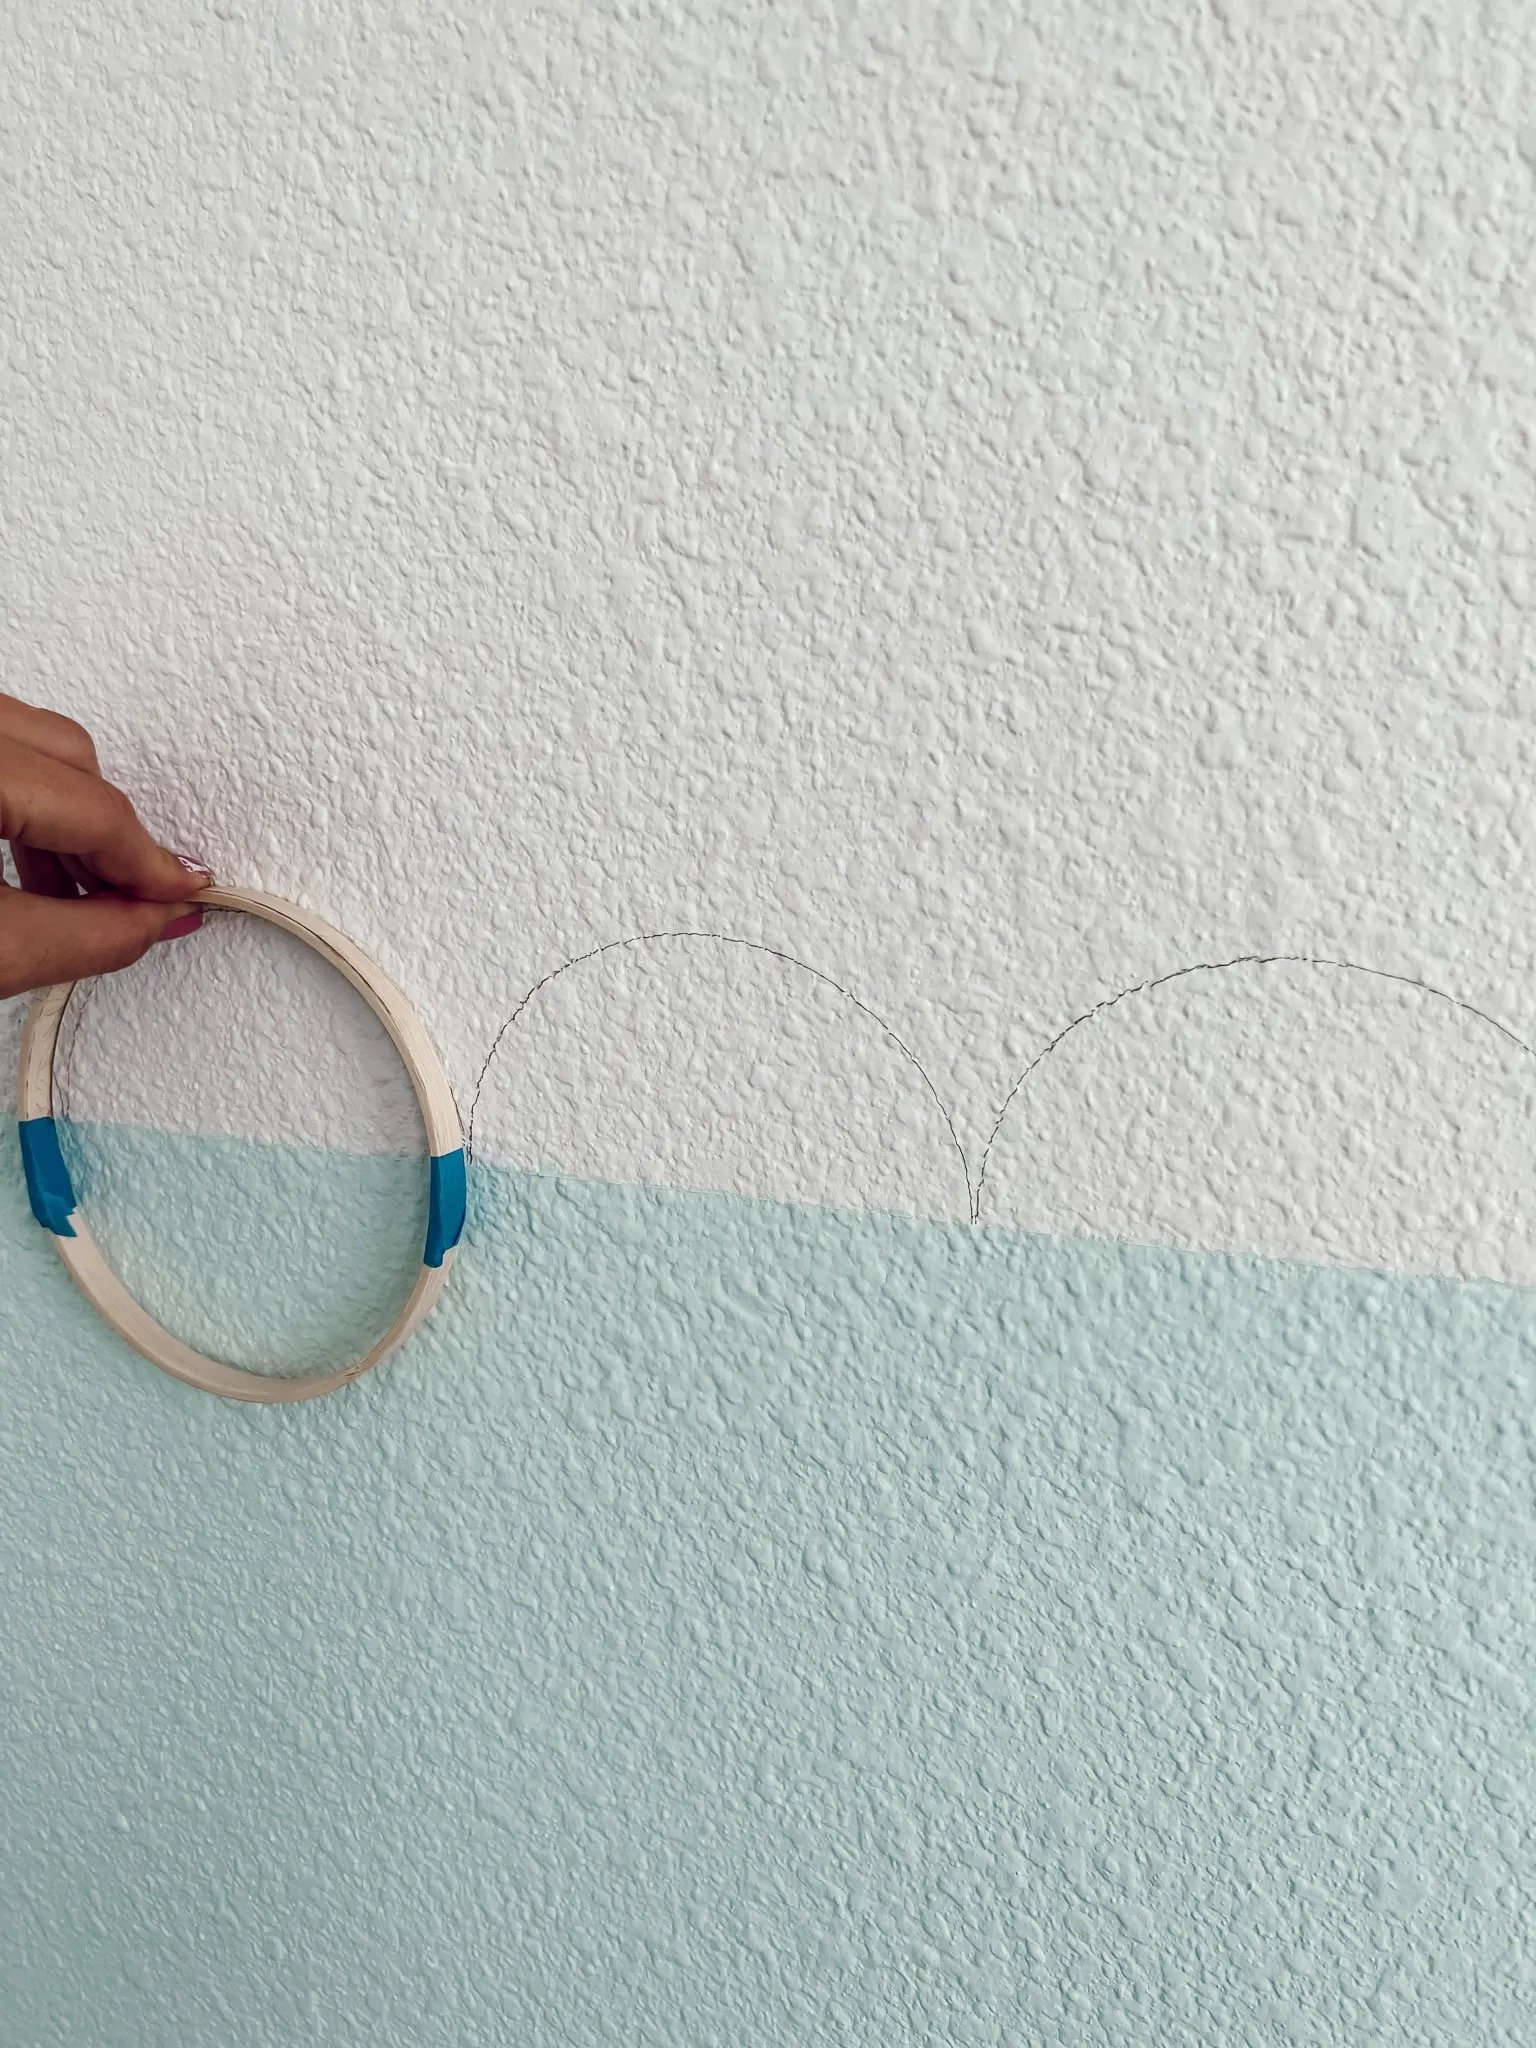
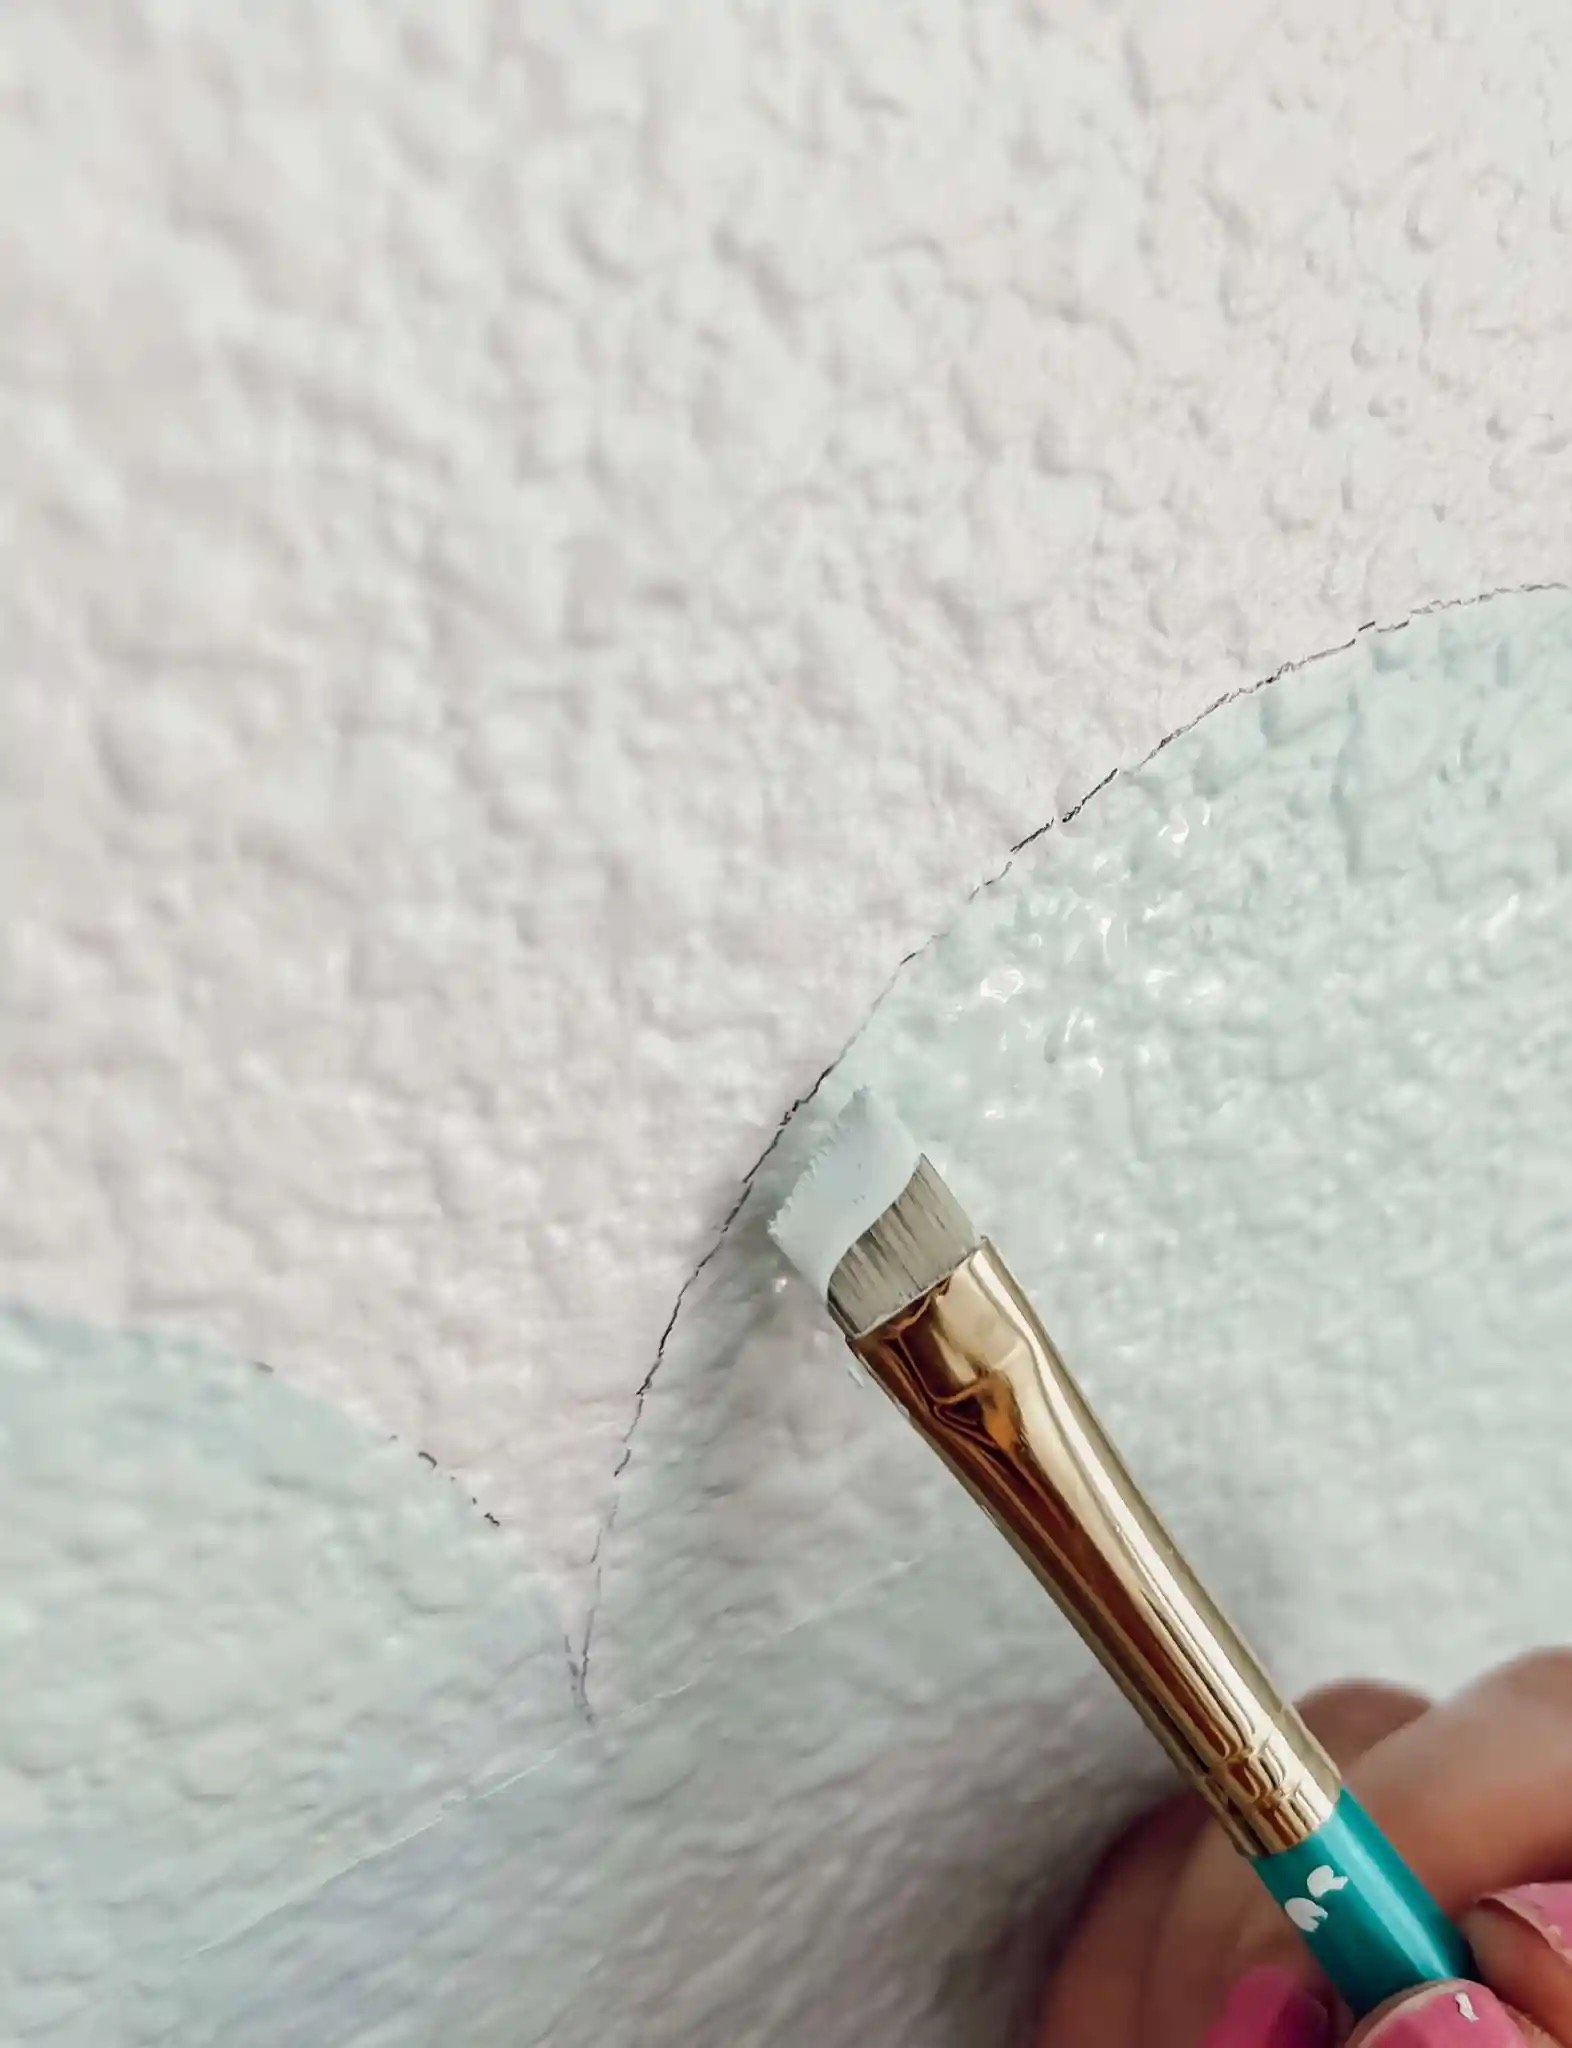
Now let’s start the cute scallops! I used a wooden embroidery hoop that I found at Michaels. I wasn’t sure what size I wanted my scallops so I bought both the 4” and 5” hoop. I ended using the 5” and popped out the inner hoop and used that. I then marked my hoop on the sides with my tape to create exactly where I wanted my half circle for my scallop. Then using the blue tape as my guide I traced on the inside of my hoop to create my half circles on the wall.
TIP
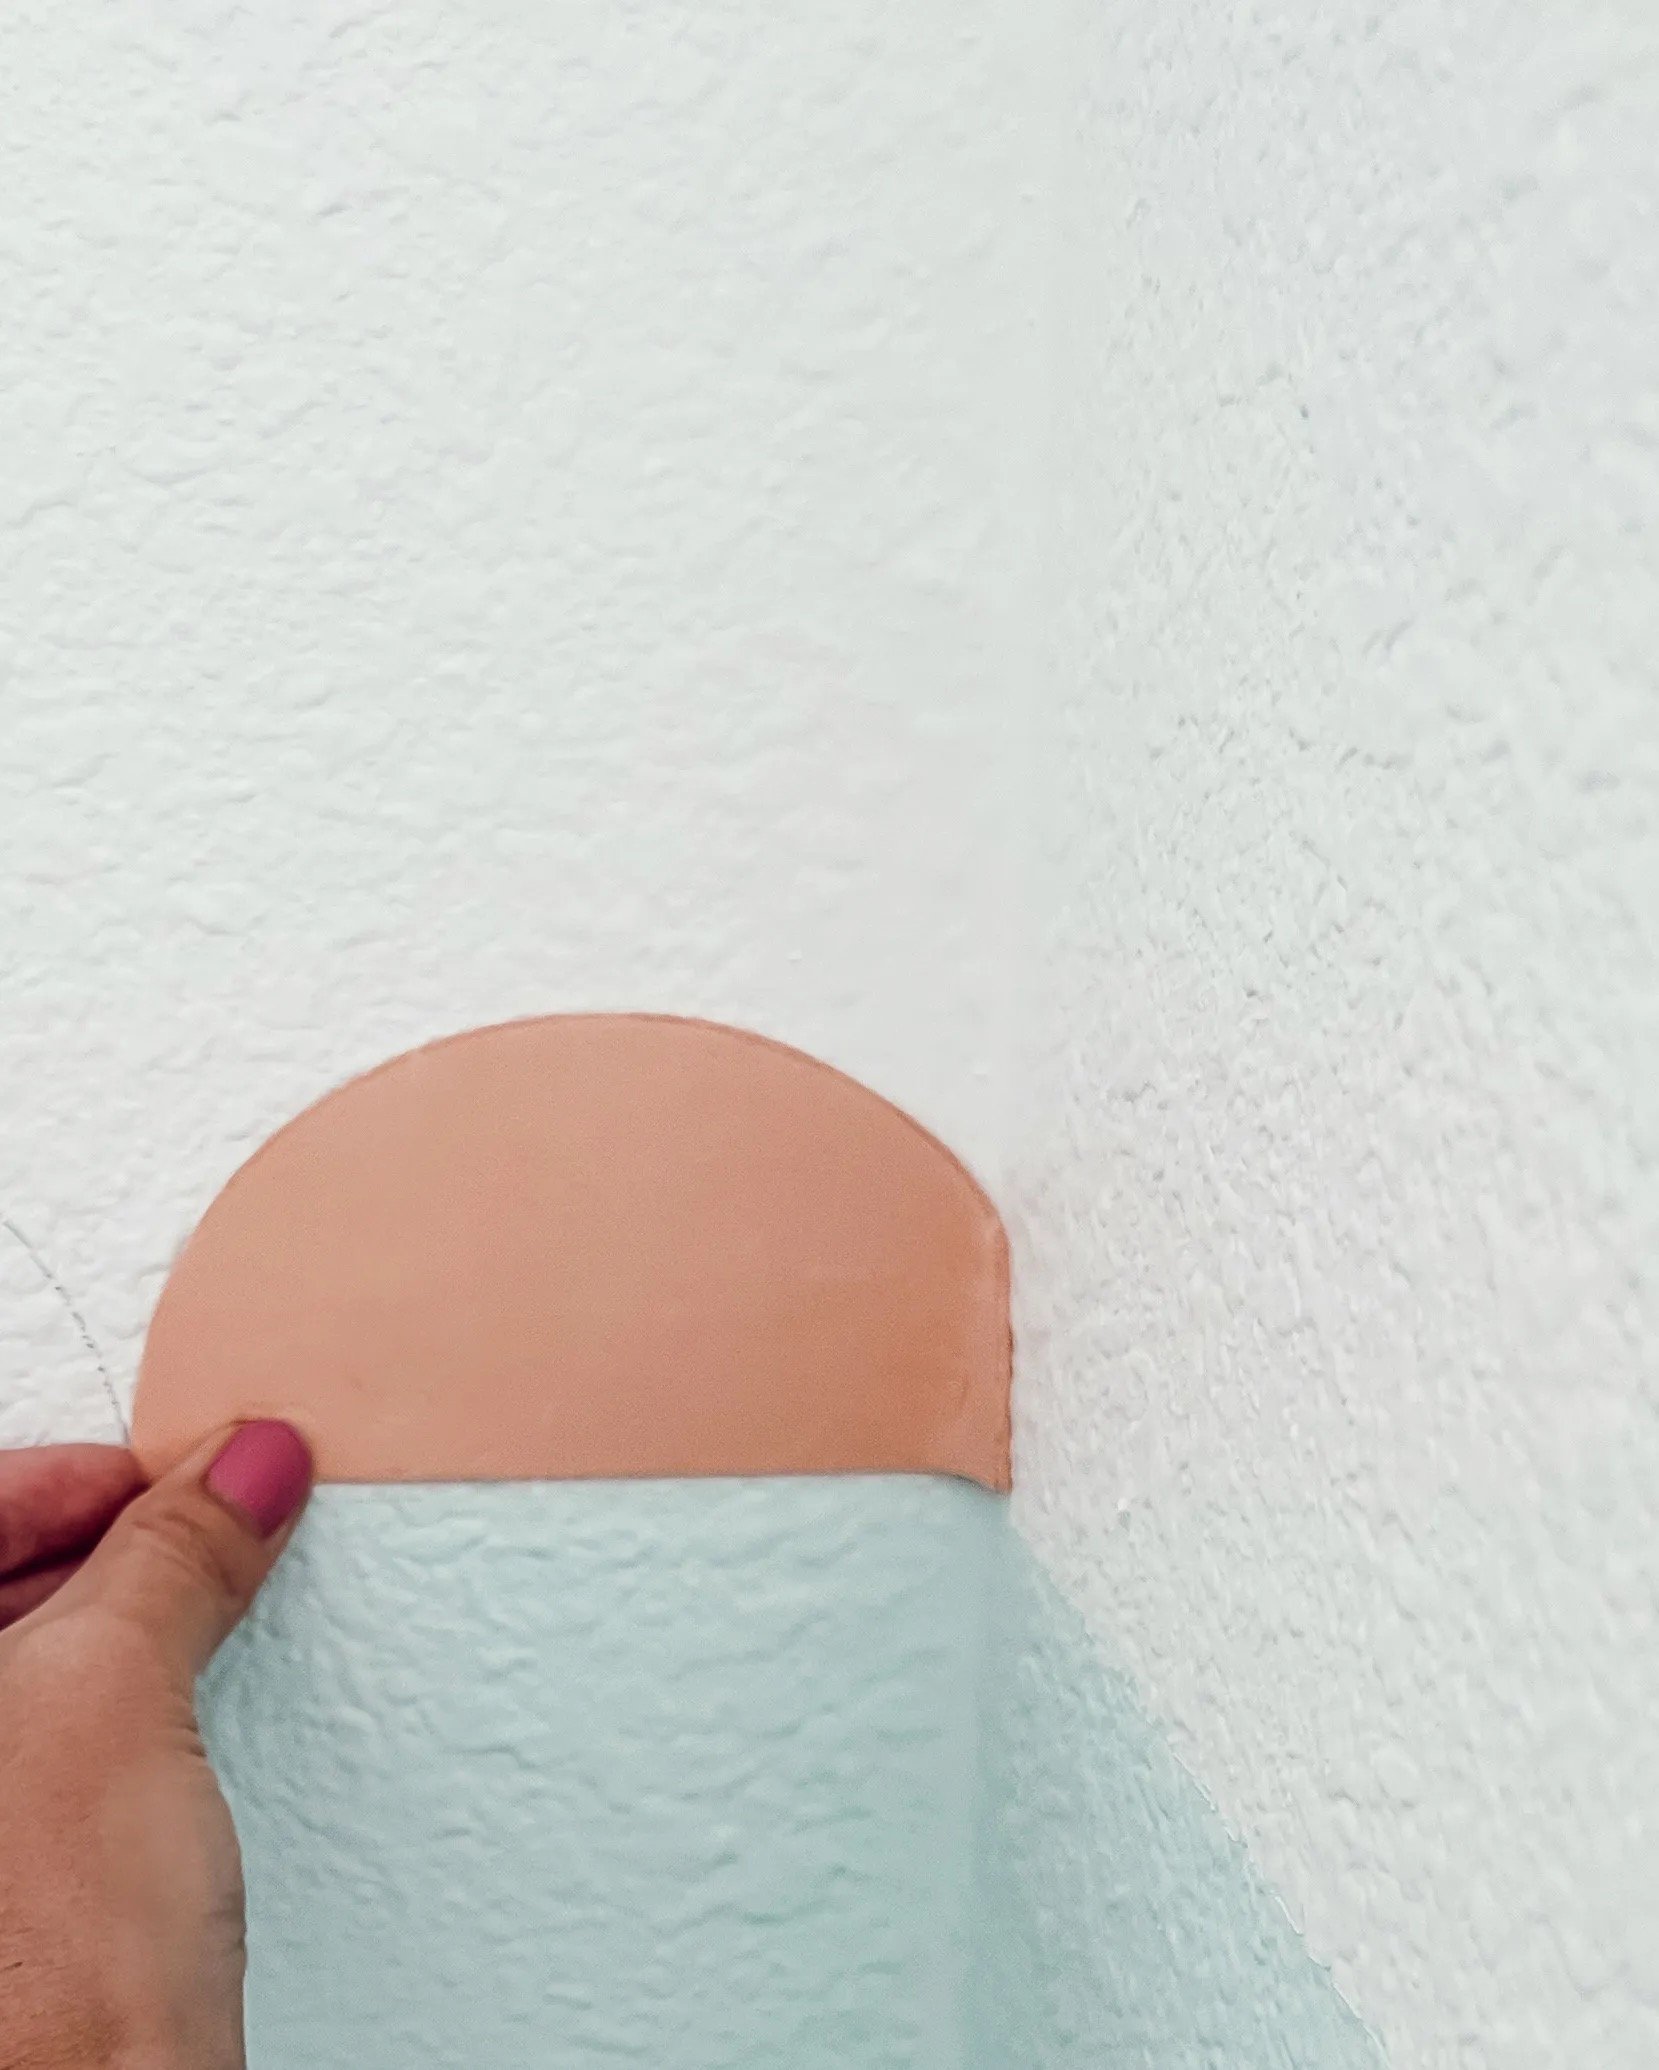
For the corners I used a piece of foam paper I already had in my craft supplies at home, you could also use card stock, then trace a half circle using the embroidery hoop as your guide. I cut it out and was able to bend it for my corners and trace that.
STEP 5
Now let’s paint the cute scallops. This is where you will want to use the angle brushes with short bristles to give you more precision. I used the larger angle brush to quickly fill in my scallops and then the smaller angle brush to paint right on my pencil line for a perfect line along my scallop.
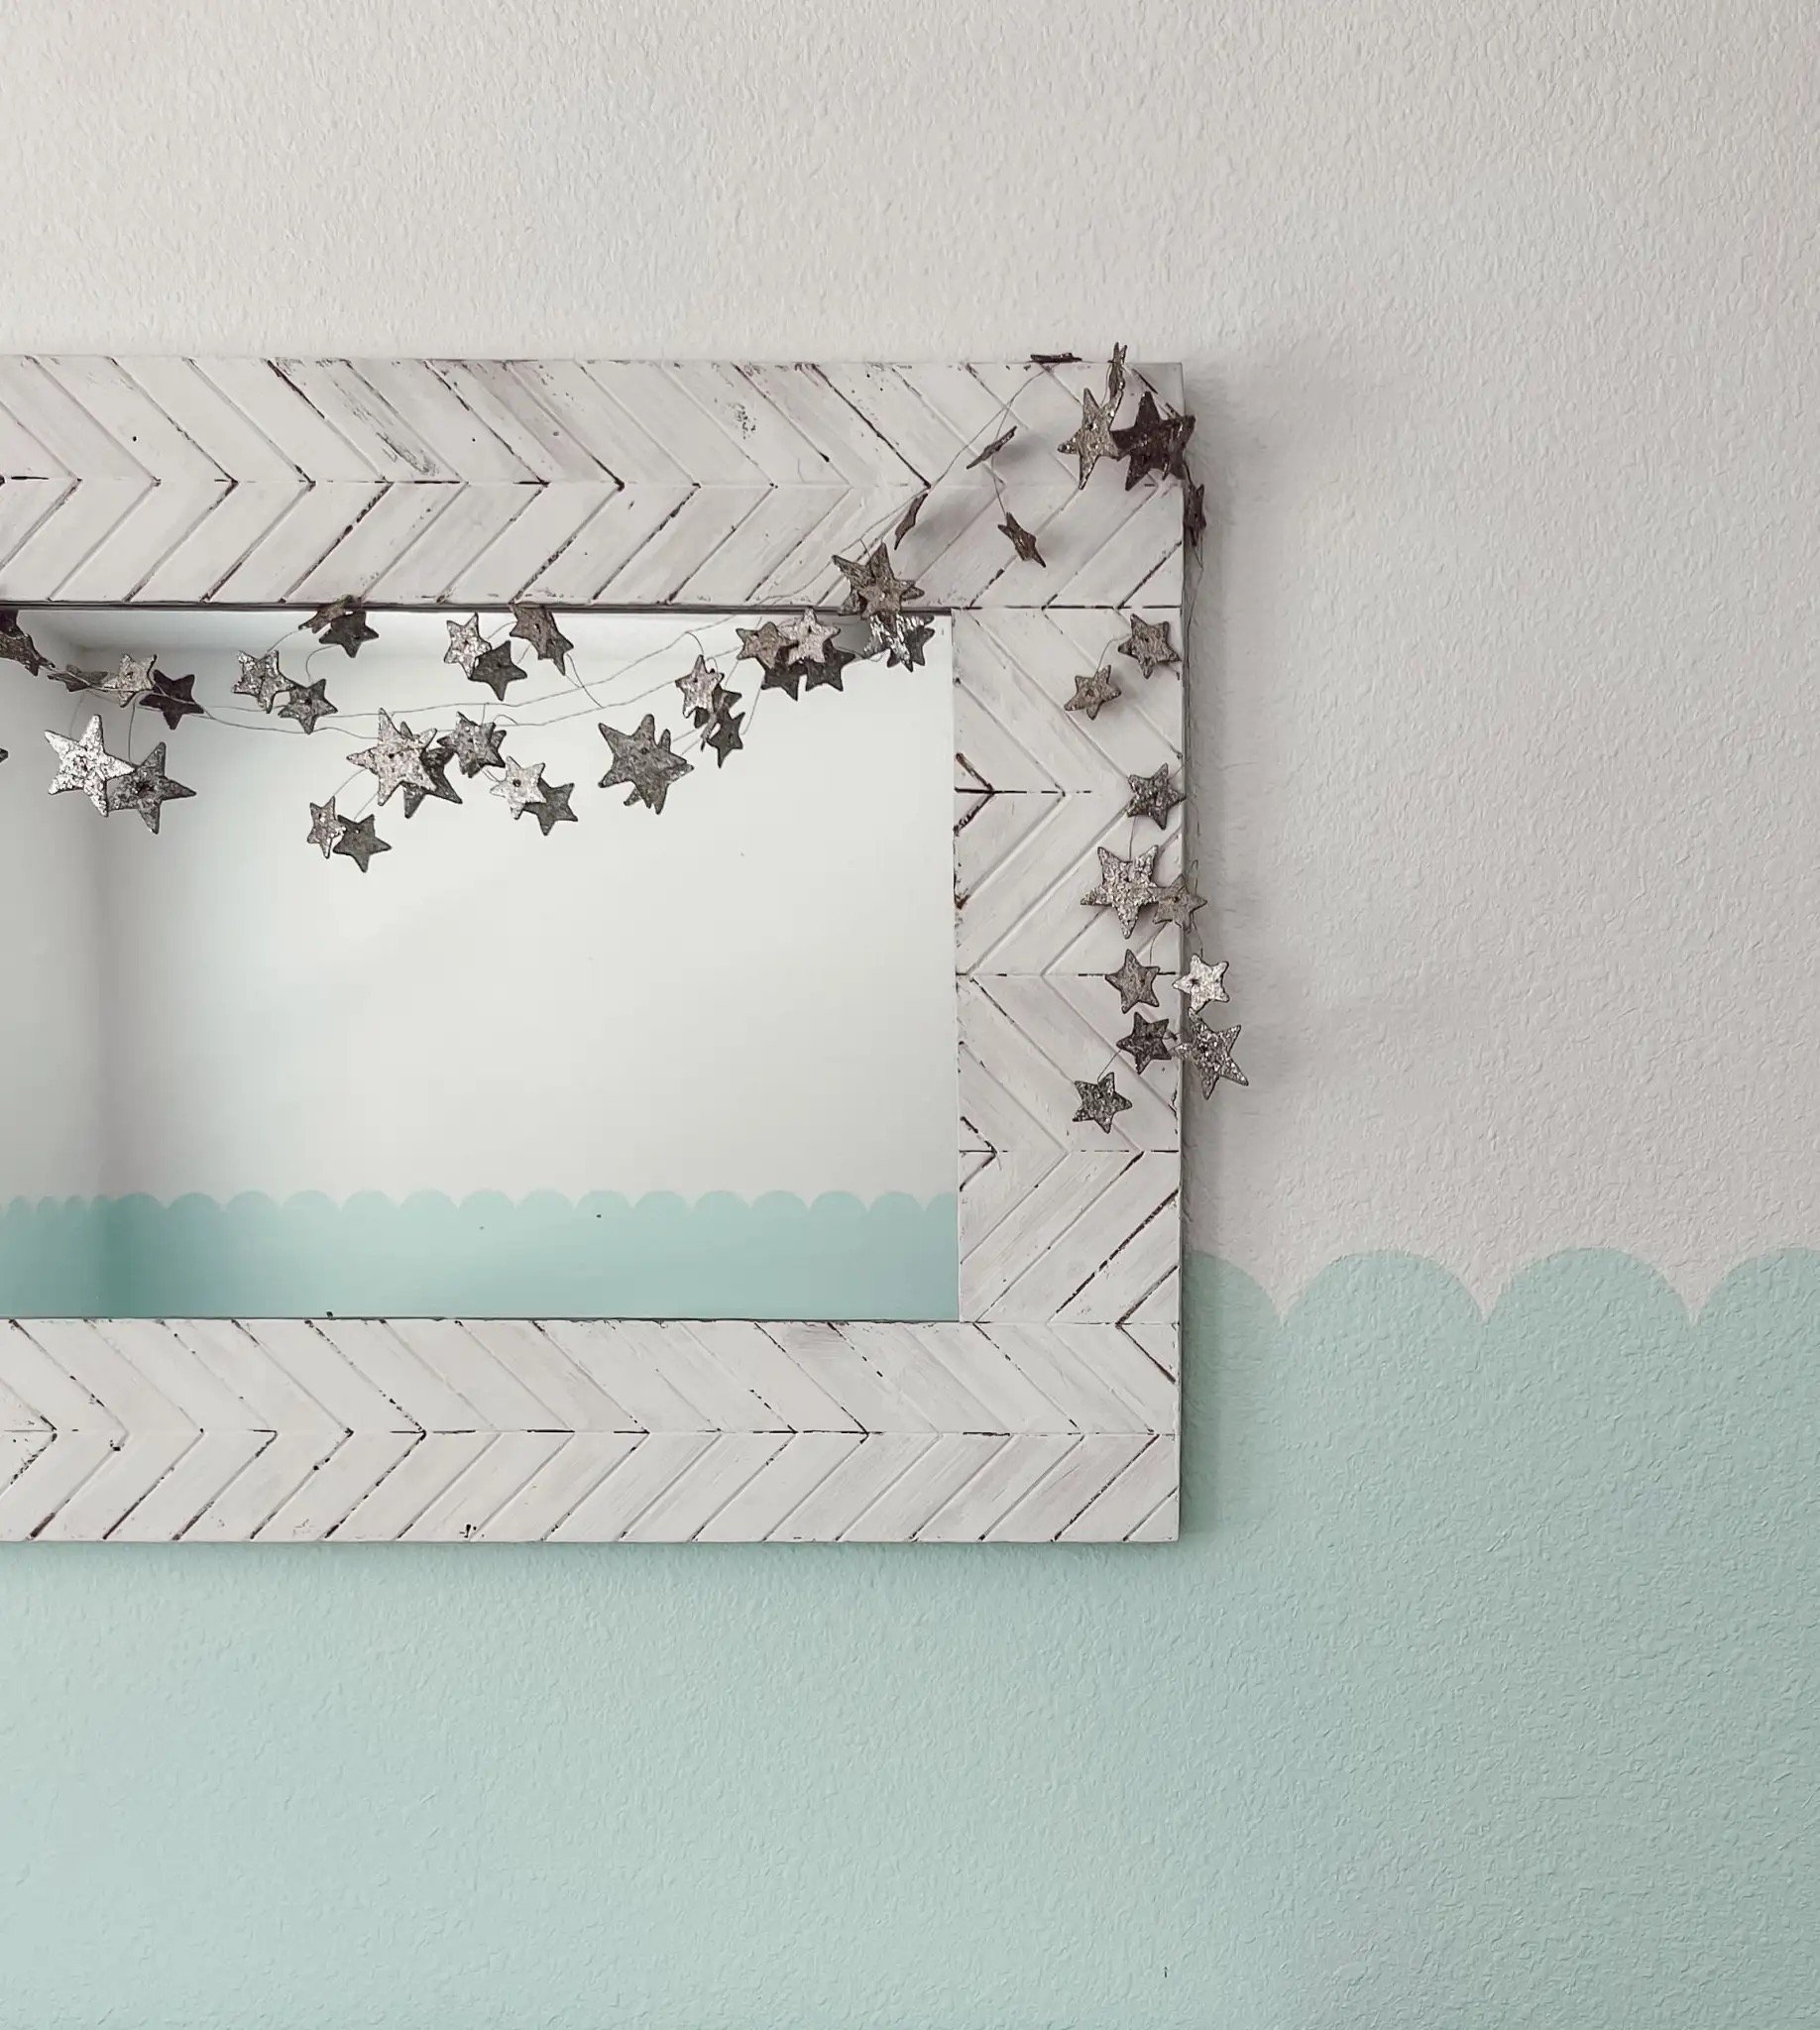
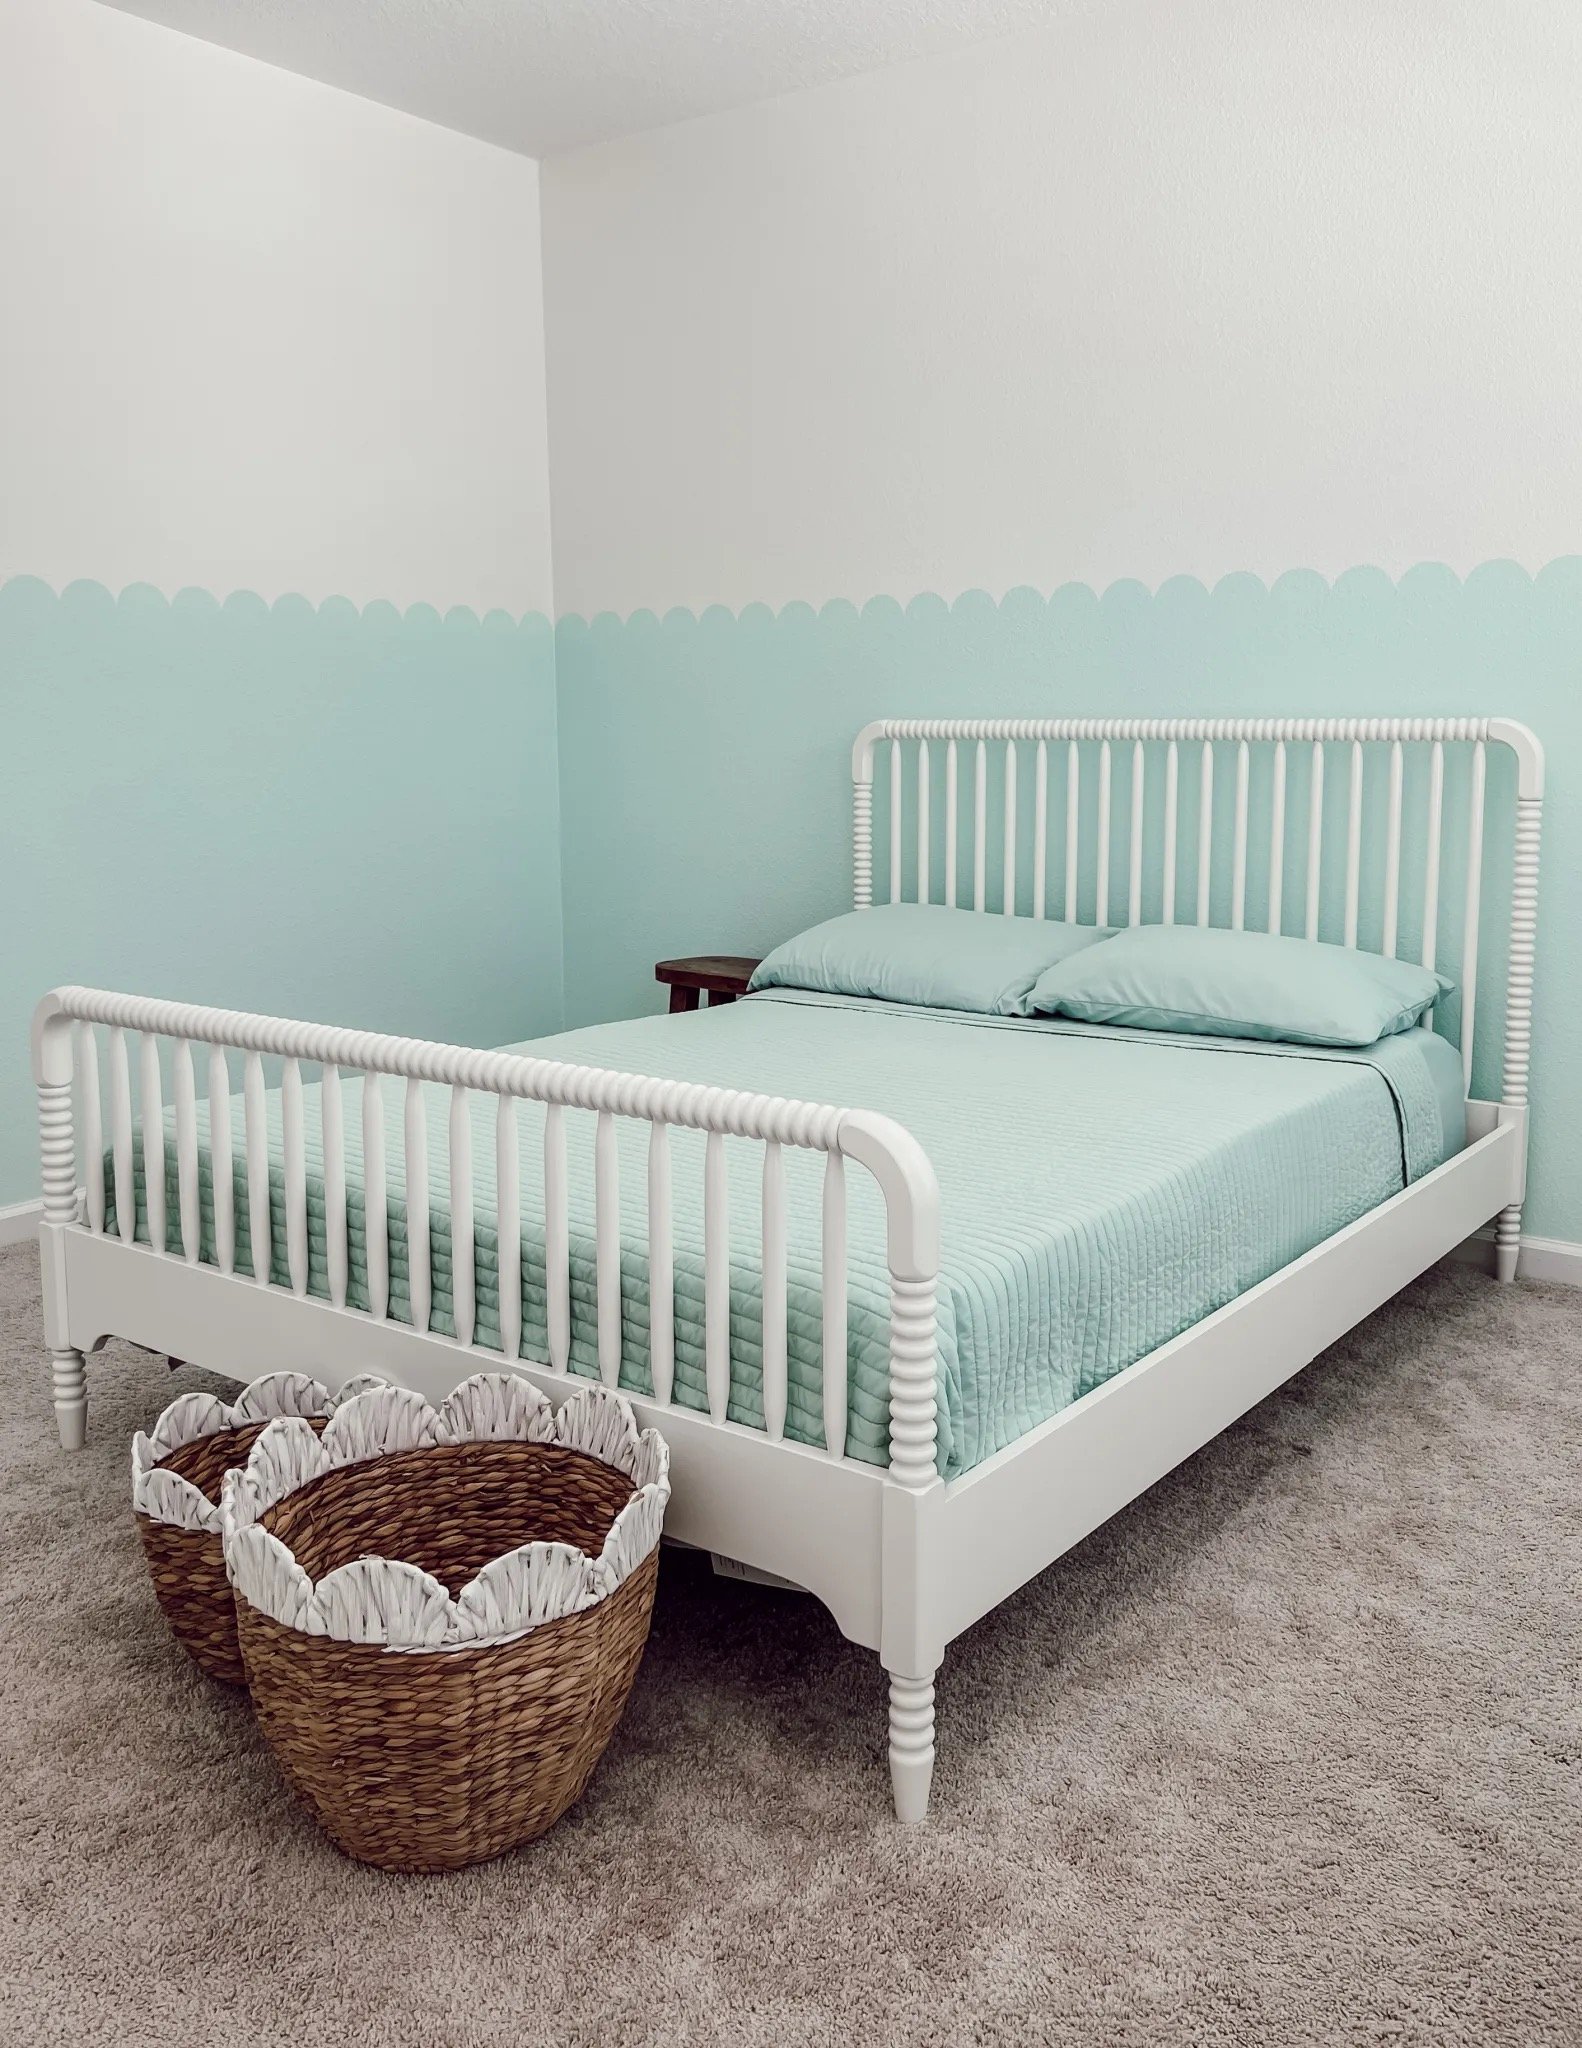
It took me two coats of paint to fill in my scallops, so I repeated these steps twice. And you’re done! It’s easy just time consuming, but so worth it!
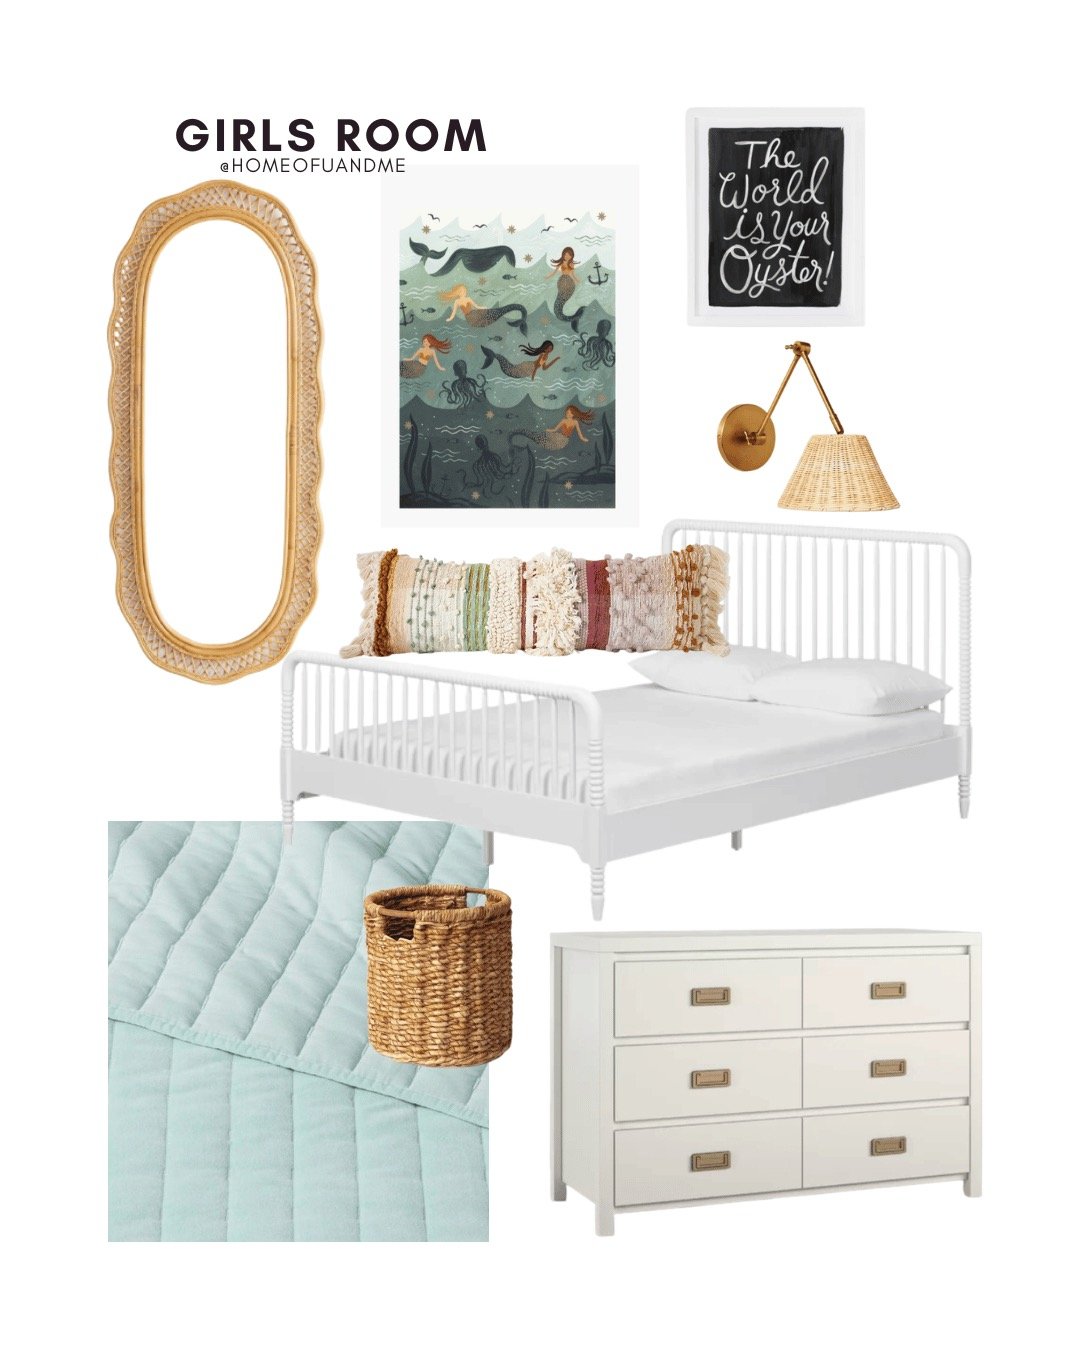
Now it’s time to decorate, my favorite part, so stayed tuned for another post of Sydnies room once its complete. HERE IS MY DESIGN BOARD I CREATED FOR HER ROOM .
TAP ON THE PHOTOS TO SHOP THE LINKS
If you try a scallop wall I would love to see! Please tag me on instagram http://www.instagram.com/homeofuandme

