Under The Stair Closet Organization
August 23, 2022
We just moved into our Florida home last month and we are getting rooms put together, organized and settled.
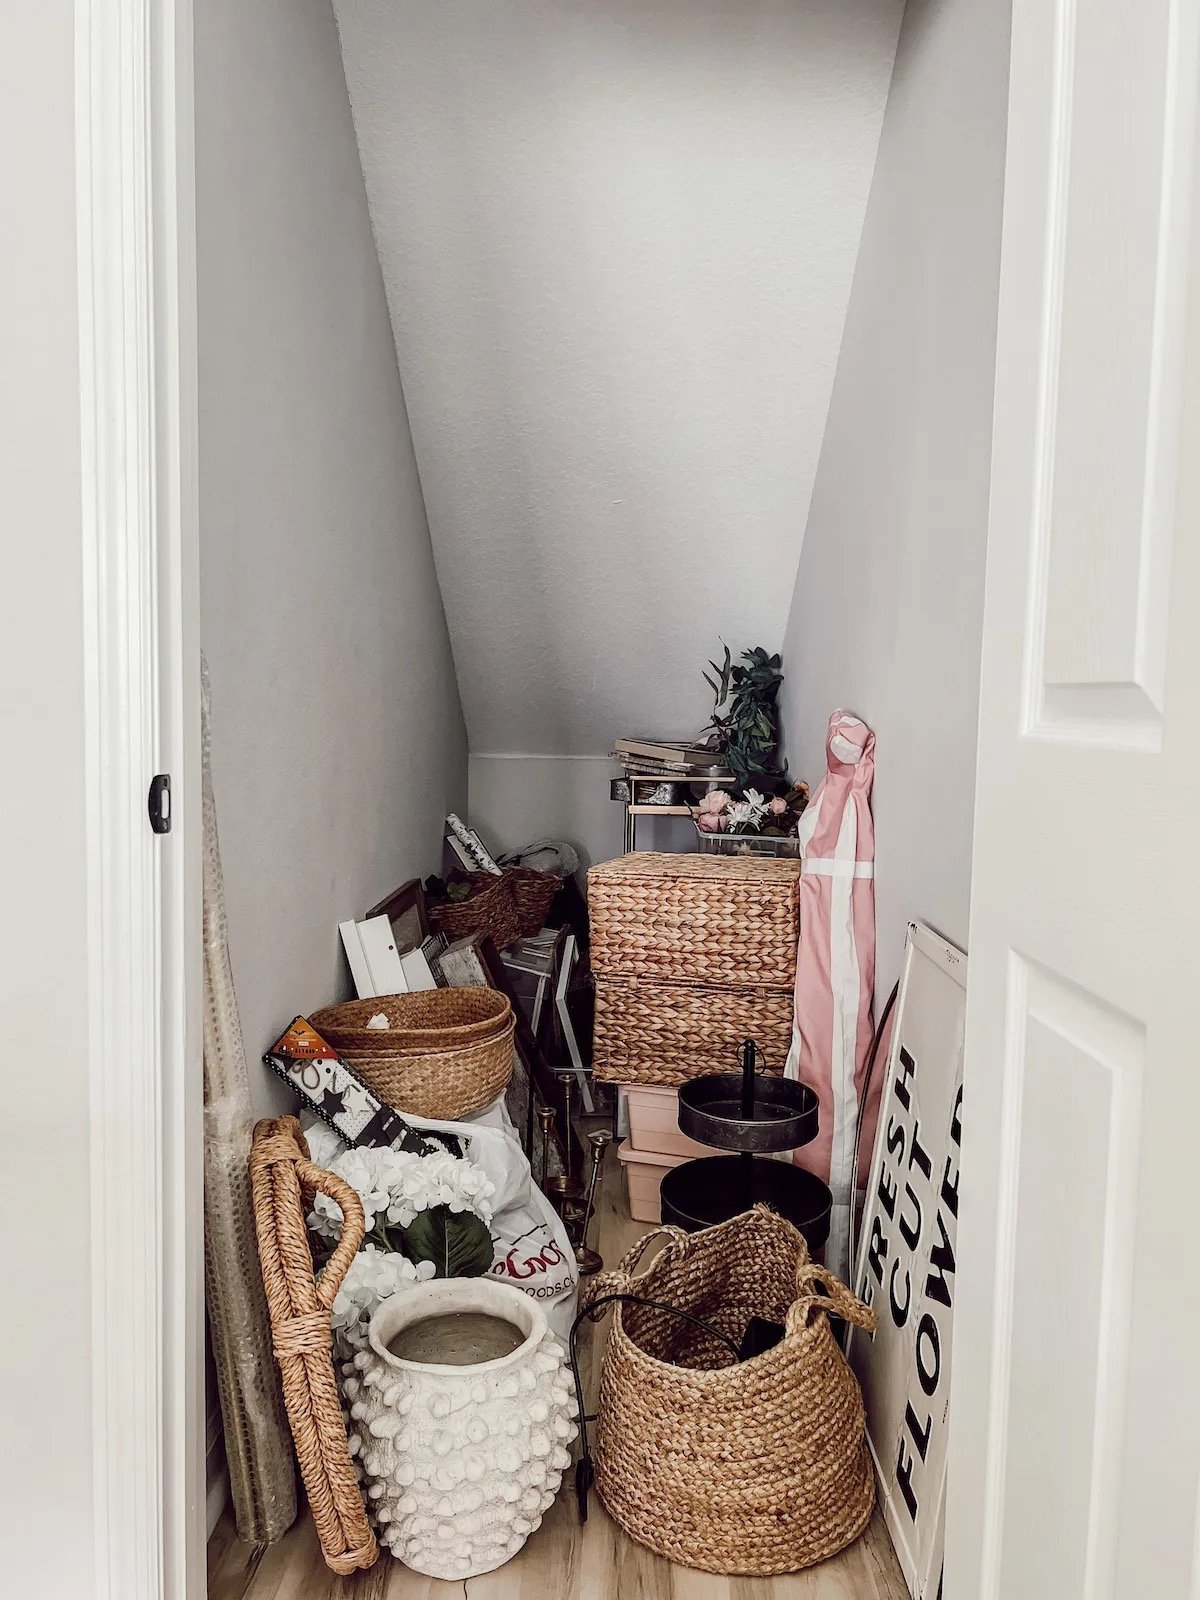
Under the stairs is always an awkward closet, you put stuff in and it goes way to the back. The ceiling slants down so you hit your head climbing over things, just to get to the one thing you wanted. That’s if you even remember you have that one thing, because it’s been buried under other things for so long! I hated this closet in our last house, so even though I have a million other things I should be doing besides wallpapering a closet people won’t even see. My goal in this house is to make every inch of it work for us and no wasted space. So if you are going to organize something why not also make it cute! (That and I had left over wallpaper from our last house) So here is the before of my closet…
TAP ANYWHERE ON THE IMAGES TO SHOP THIS POST
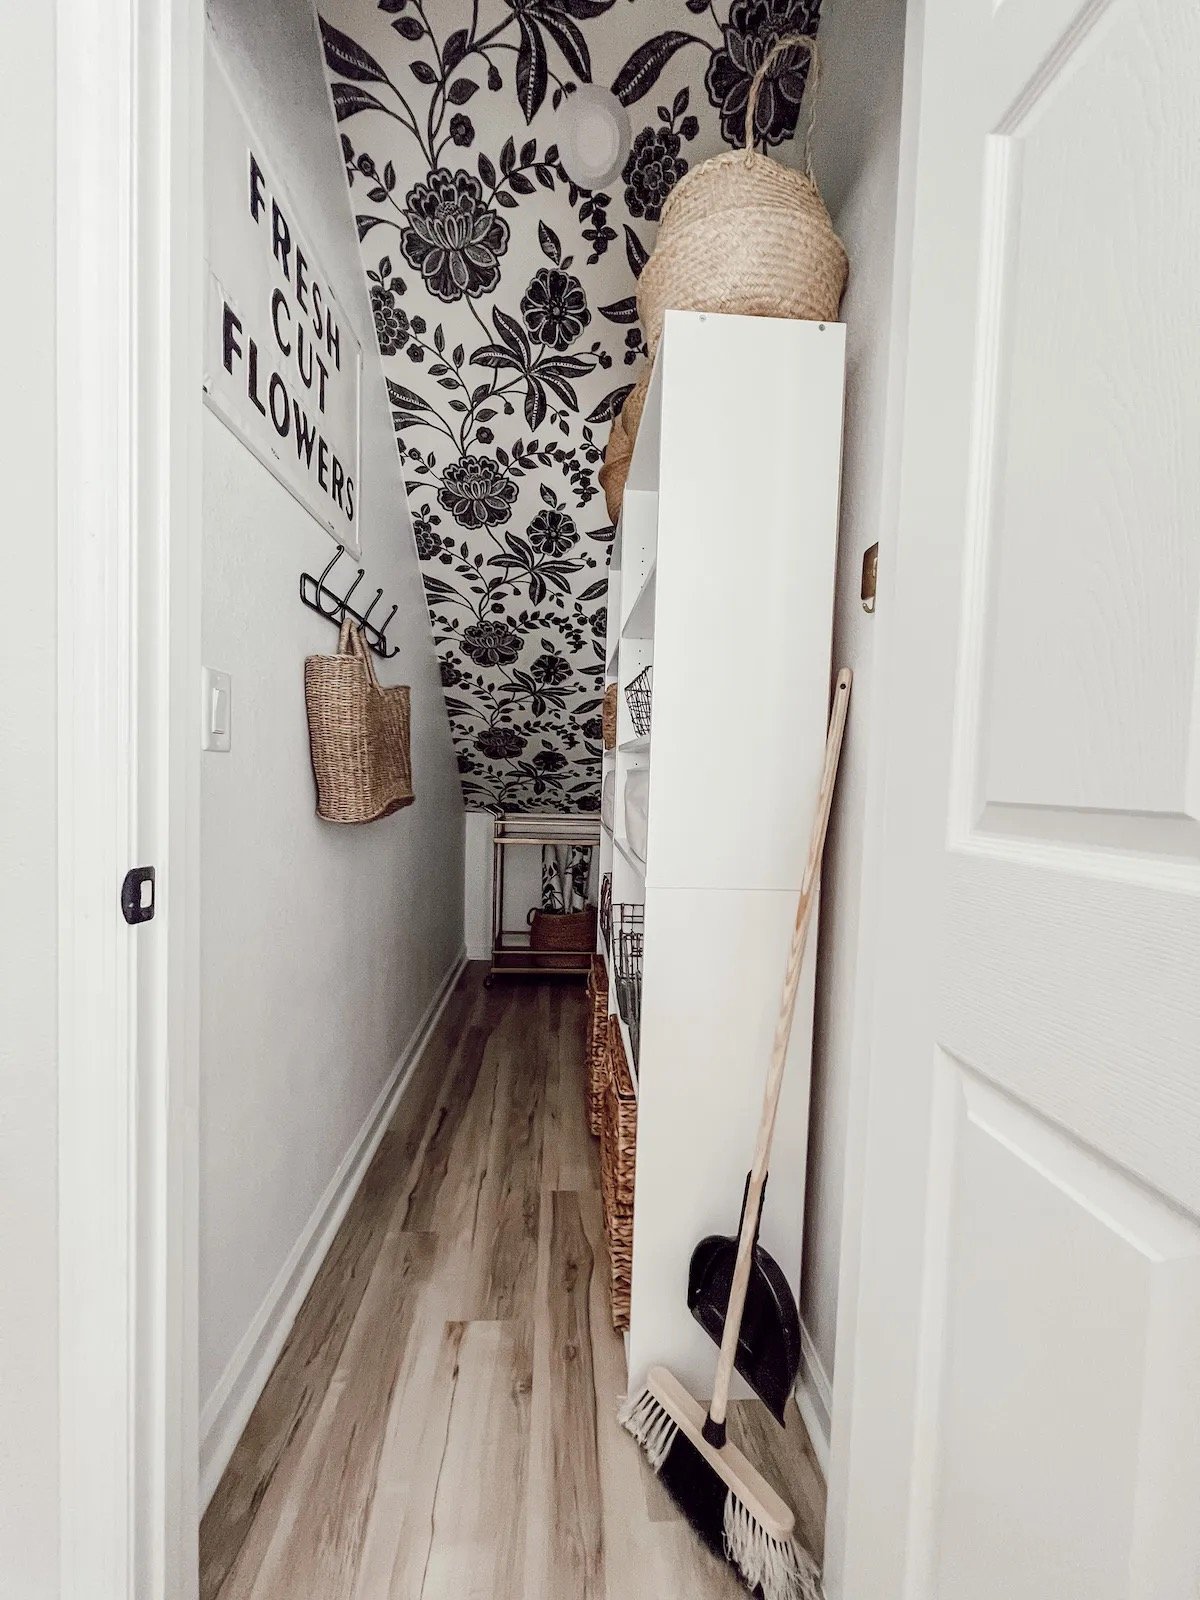
And here is the after, shelves really helped make the best use of this space…
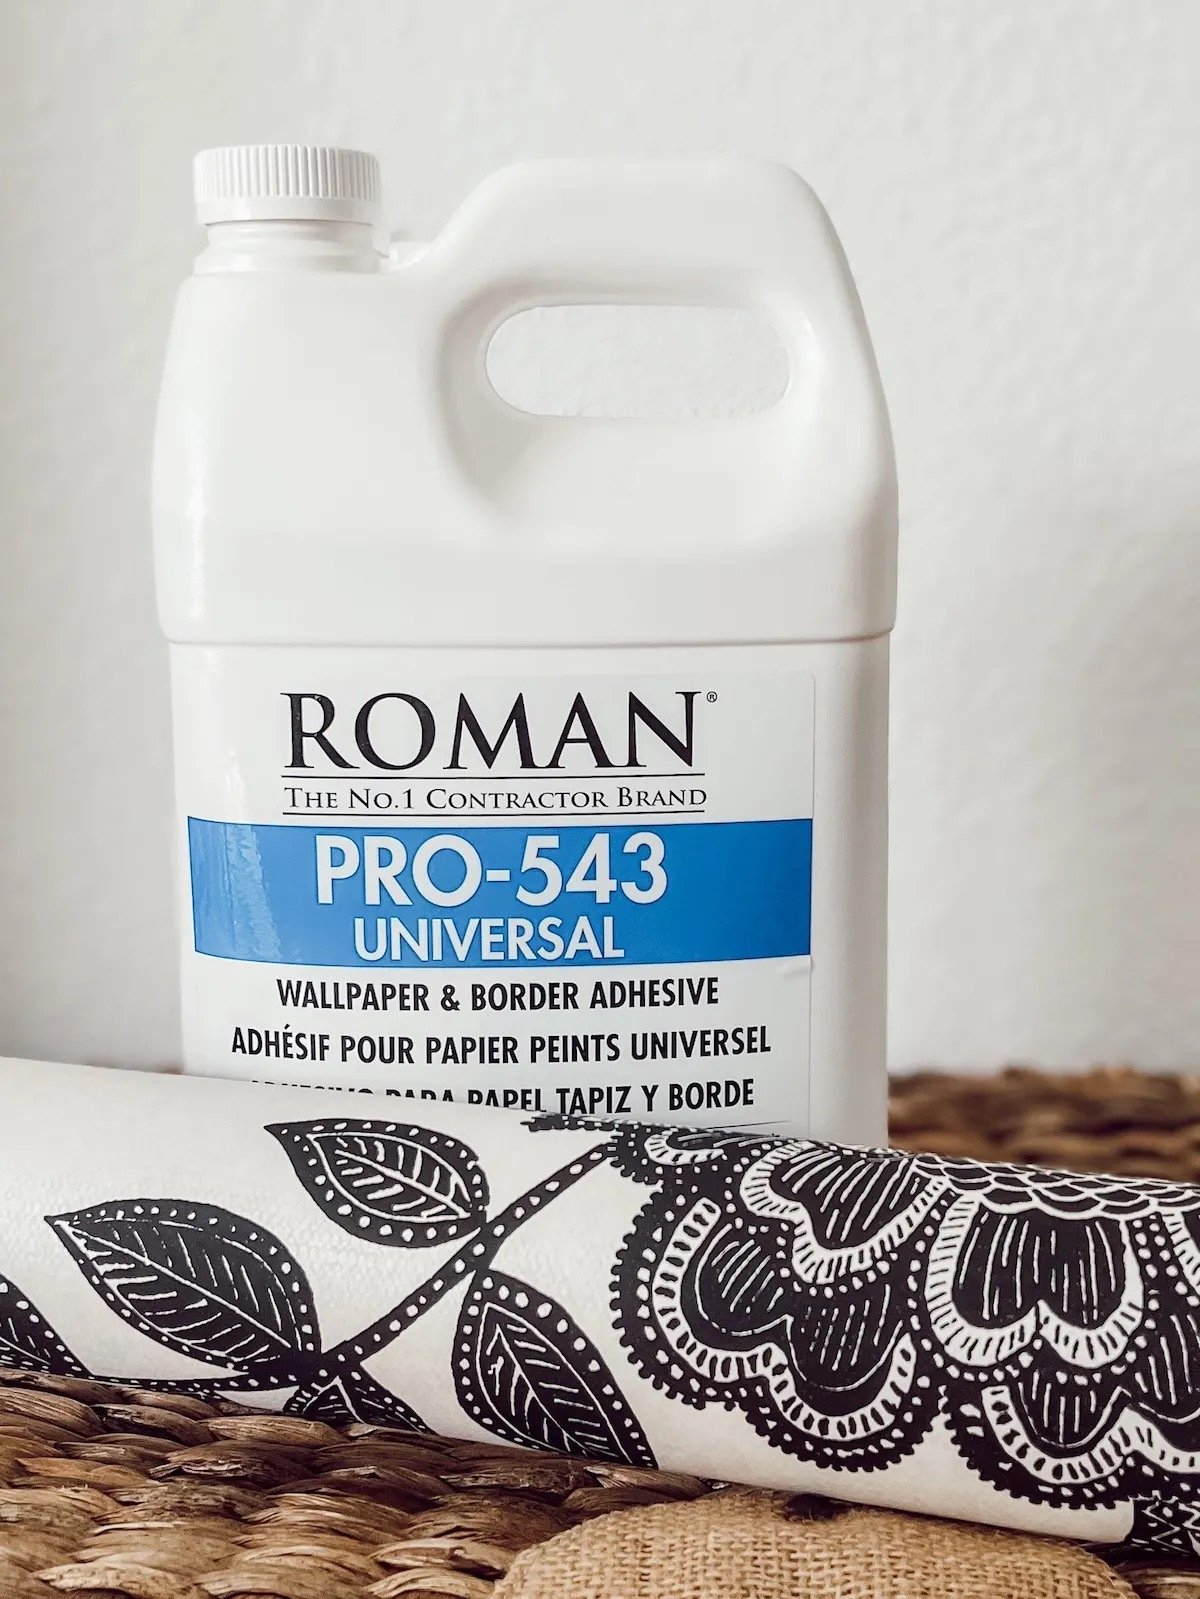
The wallpaper also made a huge impact in this space. I linked it at the end of this post. This is not a peel and stick wallpaper so it requires wallpaper paste . This is what I used…
Everyone has different techniques for putting up wallpaper, and depending on what type of wallpaper it is, that can also require a different technique. This wallpaper is non-woven (not pre pasted) so I rolled the paste (I used the Roman brand from Home Depot) directly on the wall, with a paint roller. Then I personally also add a little paste to the back of my wallpaper with that same roller (my walls are really textured and this seemed to help.)
So FIRST thing you do is double check which way your pattern goes and then unroll your wallpaper, hold it up to the ceiling corner of the wall you are doing. (I always go left to right) leave about 4 inches extra above and at the bottom of your paper, where your ceiling edge starts and meets up at the floor. Because walls are always uneven and you don’t want it to be too short! I made this mistake in the past, you do not want it too short, but with extra you can just use a razor to cut the extra off the top and bottom at the end. Once you have your first strip measured from top to bottom take it down, lay it flat on the floor (I don’t have any adhesive going on yet at this point) roll out your next strip and match up your pattern to the first strip. Then cut the second strip (don’t forget to leave the extra 4inches top and bottom) once your second strip is cut you can put up the first strip on the wall. Now I paste the wall as I stated above and a little on my paper and start at the top left corner of the wall and add my strip of wallpaper smoothing my paper to the wall as I go (you can buy a wallpaper smoothing tool or use a clean paint roller to smooth also works) make sure you have no air bubbles. TIP: On textured walls I add thumb tacks to the top of my wallpaper sections on the corners to help hold it while it dries. Once it dries I remove the tacks and you never notice those tiny tack holes. Now repeat these steps for each strip of wallpaper, match up your next strip to the second strip cut it and then paste your second strip and continue doing this until your wall is done. At the end use your razor and cut off any extra paper at the top and bottom. (If you have lights or light switches you will also use your razor for those as you go.)
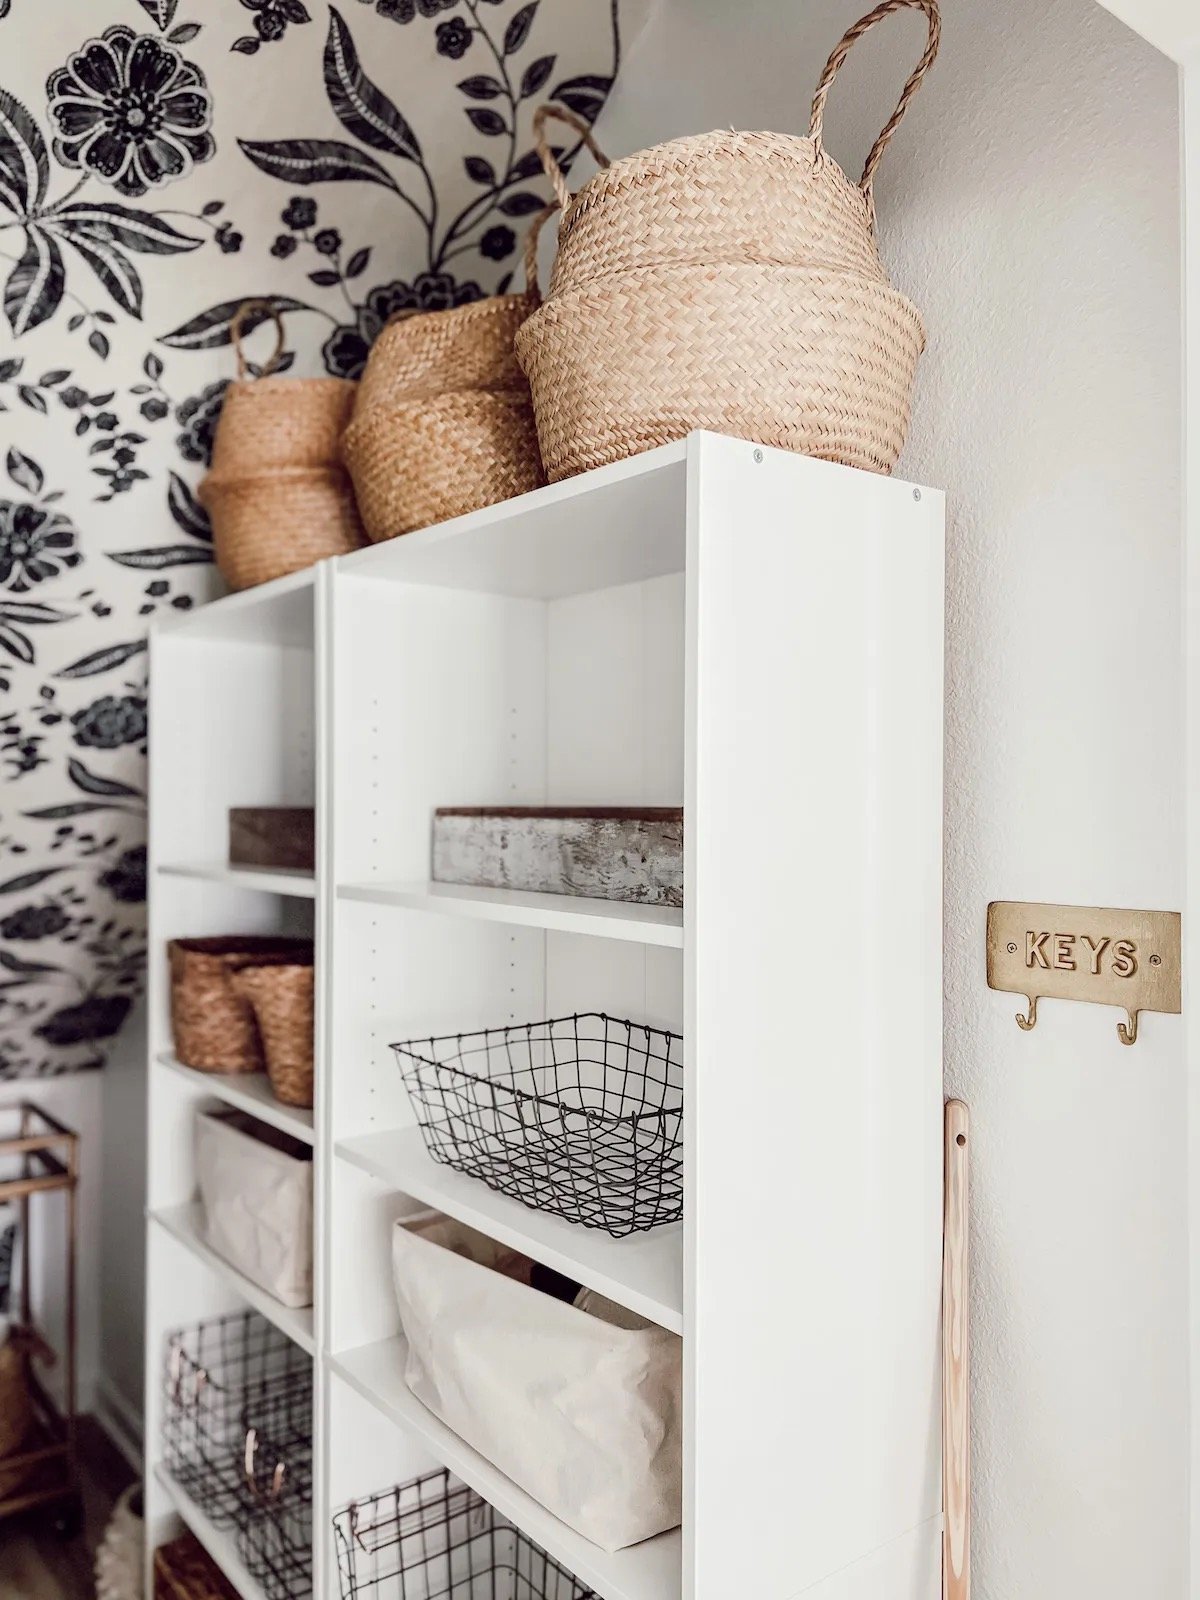
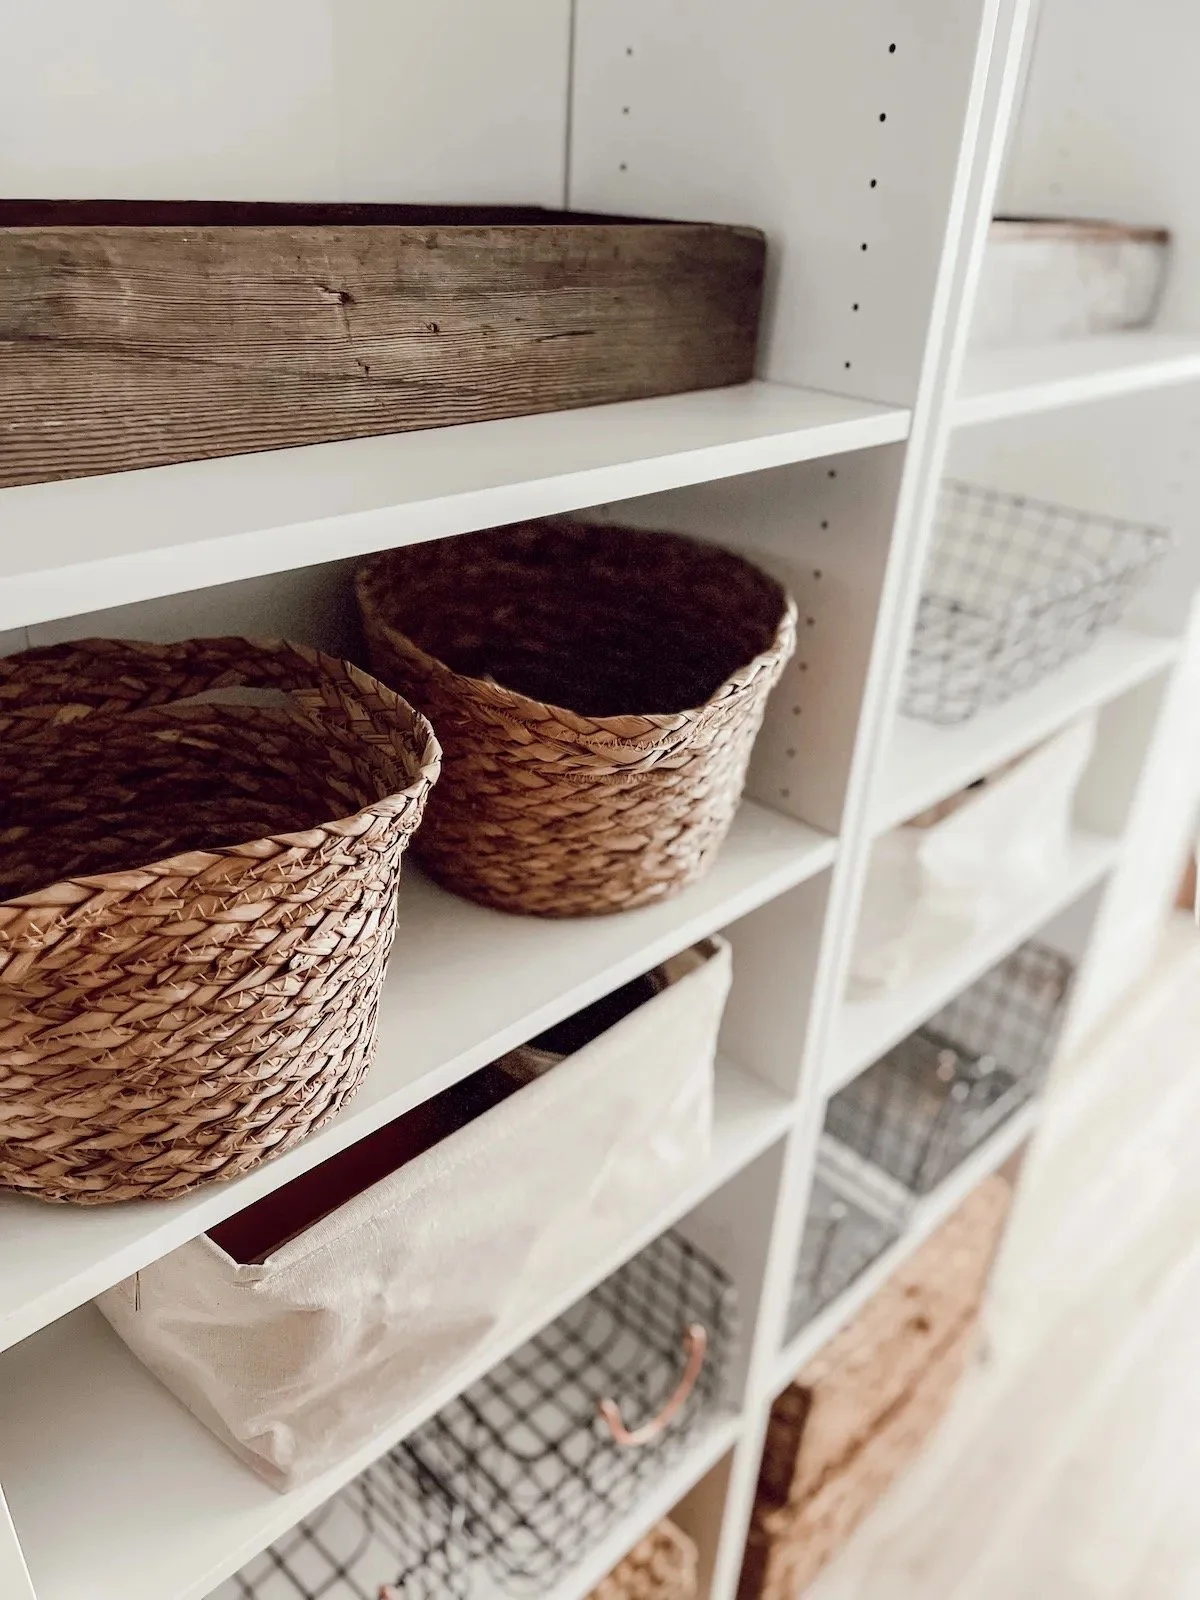
For storage I found some inexpensive shelving that worked perfect to get everything off the ground. I put all my extra decor so I could see it and use it instead of hiding it in bins in the garage and forgetting I even have it. I used seagrass baskets and wire baskets. I added a hook so that I can store bags, wreaths etc on them, I stored my bar cart, that I pull out for holidays and parties, down at the end where the closet narrows. I hung a rack for my essential oils, that I found at Michales a few years ago and added wooden slates to it so my oils wouldn’t tip over. And I put a hook for our keys in hopes my husband would stop losing his keys if he had a spot for them. I also found a black and white broom at Homegoods to match my closet, I was pretty excited about that!
I hope this inspires you to create an organized space in a part of your home that you may not be utilizing as well as you could. One project at a time, you can create a home you love.
You can finds things I used by clicking on the images.

